Your MacKeeper account is your personal control panel. Use it to manage your MacKeeper license, reassign or cancel it, update your payment details, and more.
Create your MacKeeper account
You need an account to access all the tools in the free version of MacKeeper, as well as activate the full one. There are two ways to sign up:
Sign up from the MacKeeper app:
1. Click the profile icon in the top right
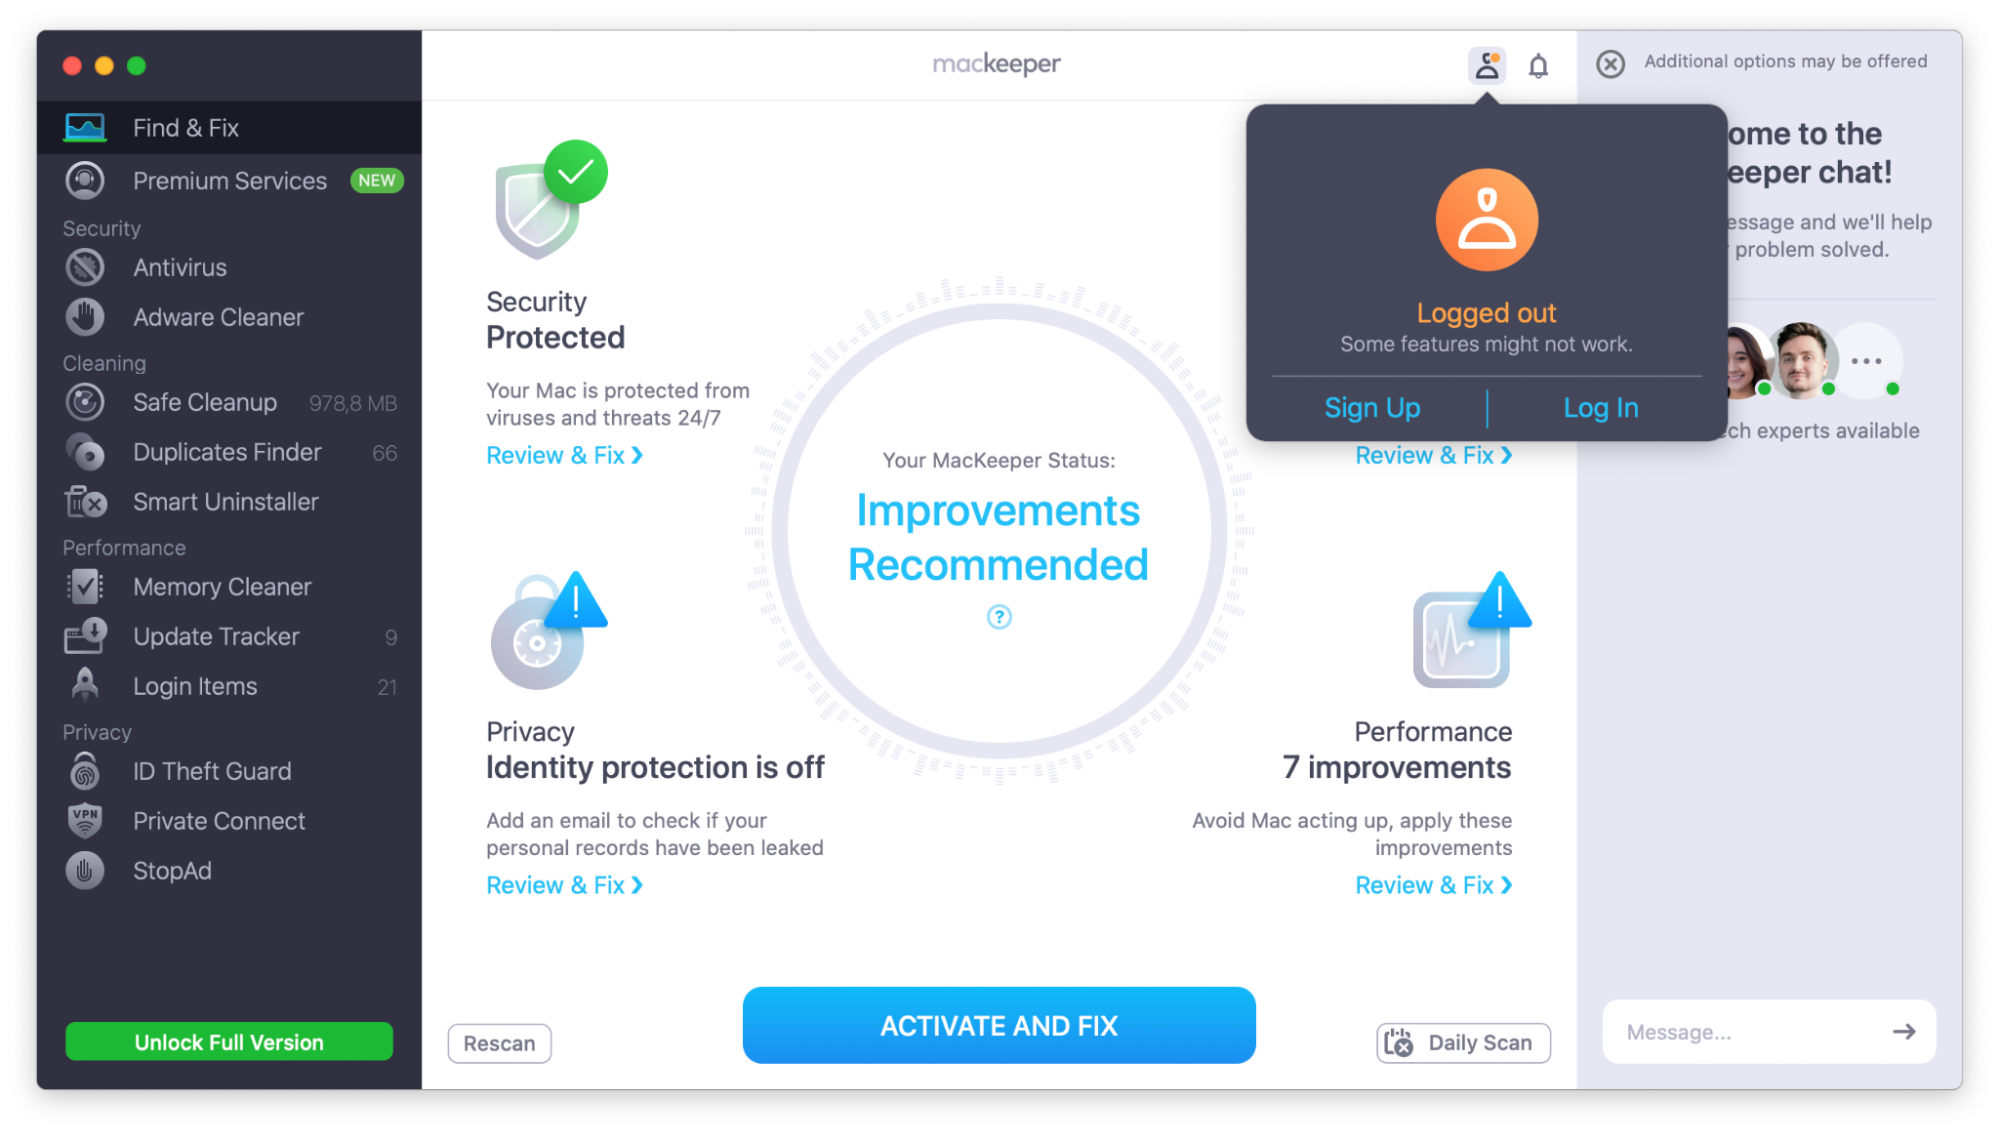
2. Hit Sign Up
3. Enter your email address. We’ll monitor it for data breaches, but you can deselect the checkbox to opt out
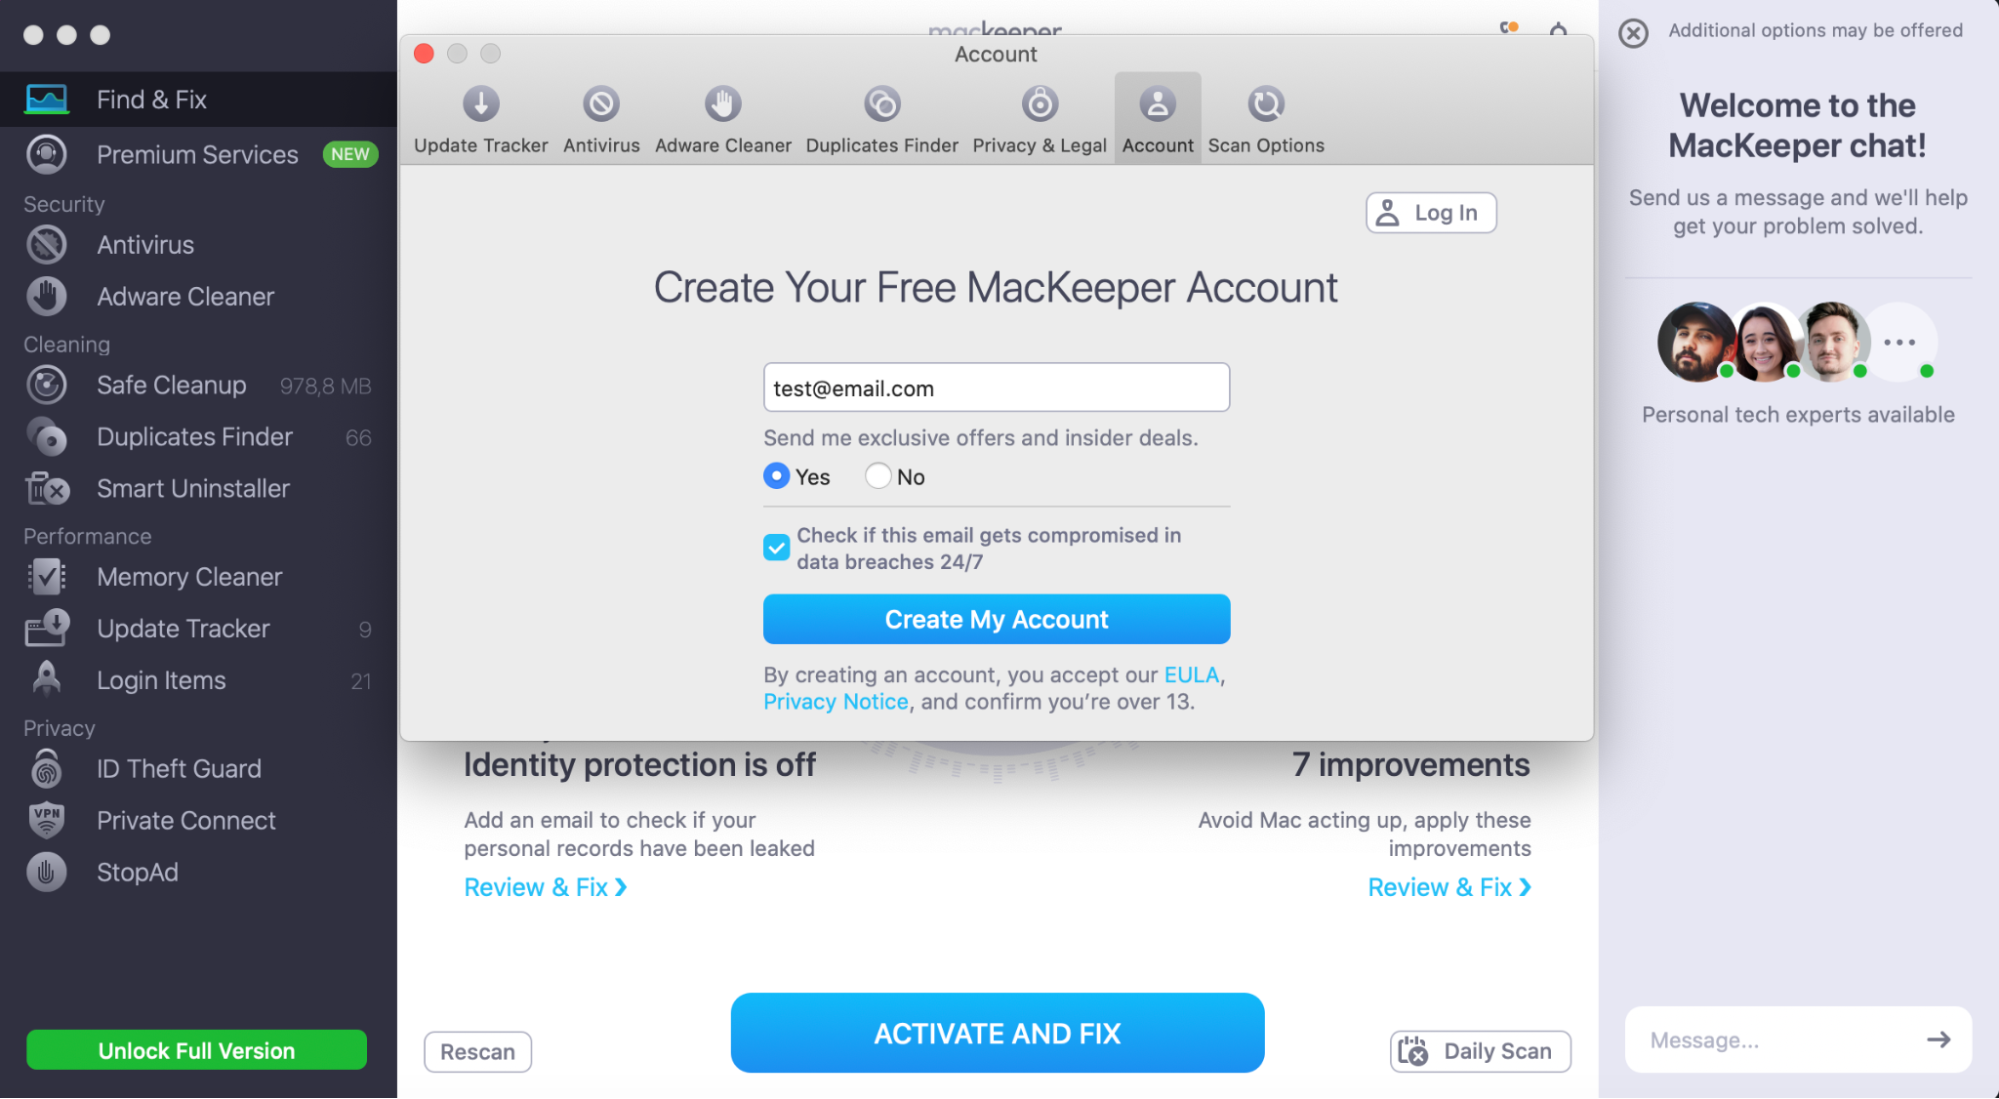
4. Select Yes if you want to receive our exclusive offers and insider deals
Sign up from the MacKeeper account page:
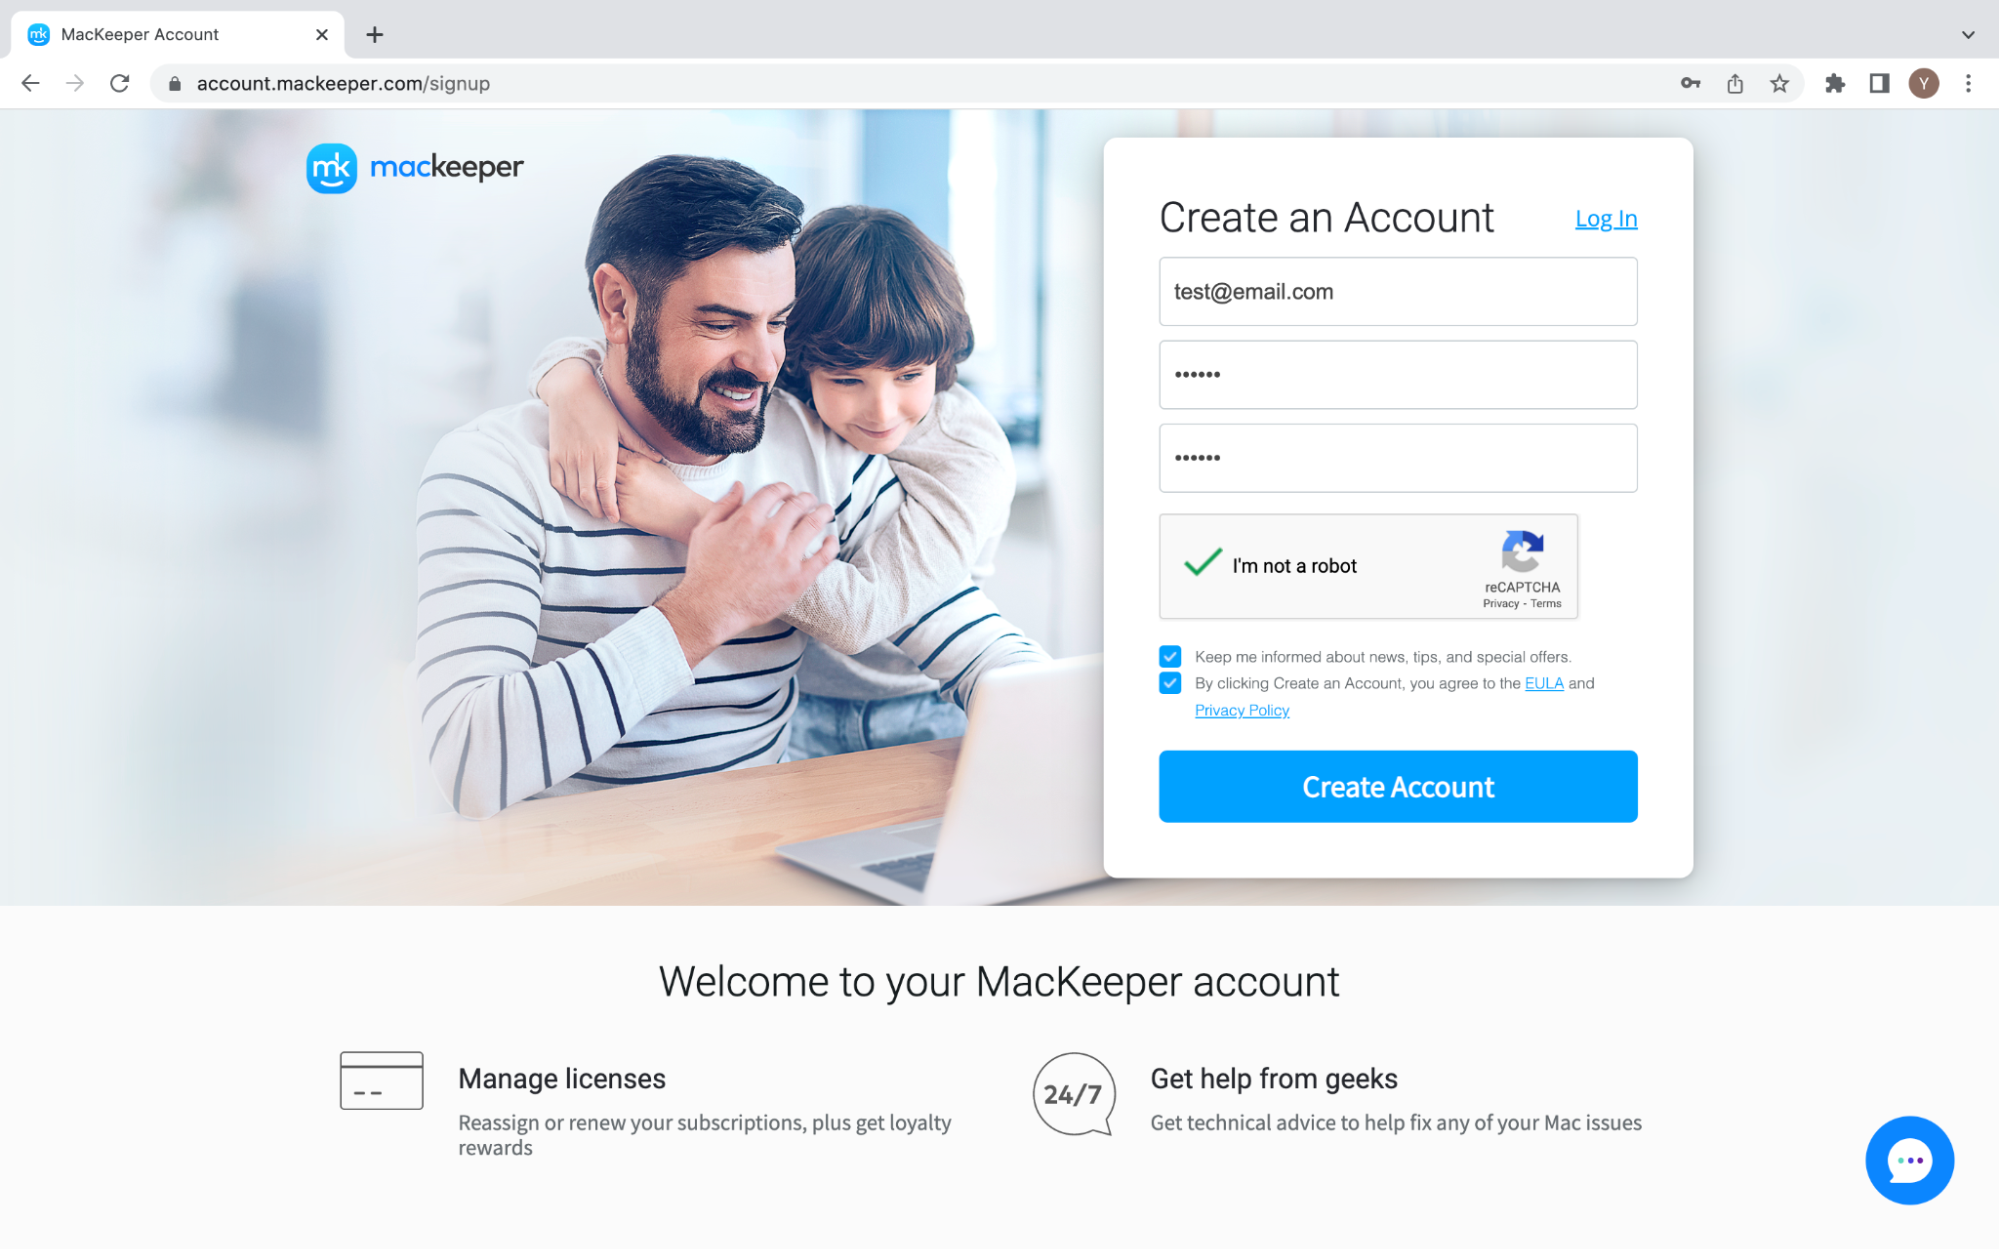
- Visit account.mackeeper.com/signup
- Enter your email address
- Create your password, then confirm it
- Select I’m not a robot to verify your identity
- Optionally, select the checkbox to receive news, tips, and special offers
- Select the checkbox if you agree with our EULA and Privacy Policy
- Click Create Account to complete
Log in to your MacKeeper account
- Visit account.mackeeper.com
- Enter your email and password
- Select Remember me to stay logged in after closing the browser tab
- Click Log In
You’ll be logged in to your MacKeeper account, and your email will show up at the top right.
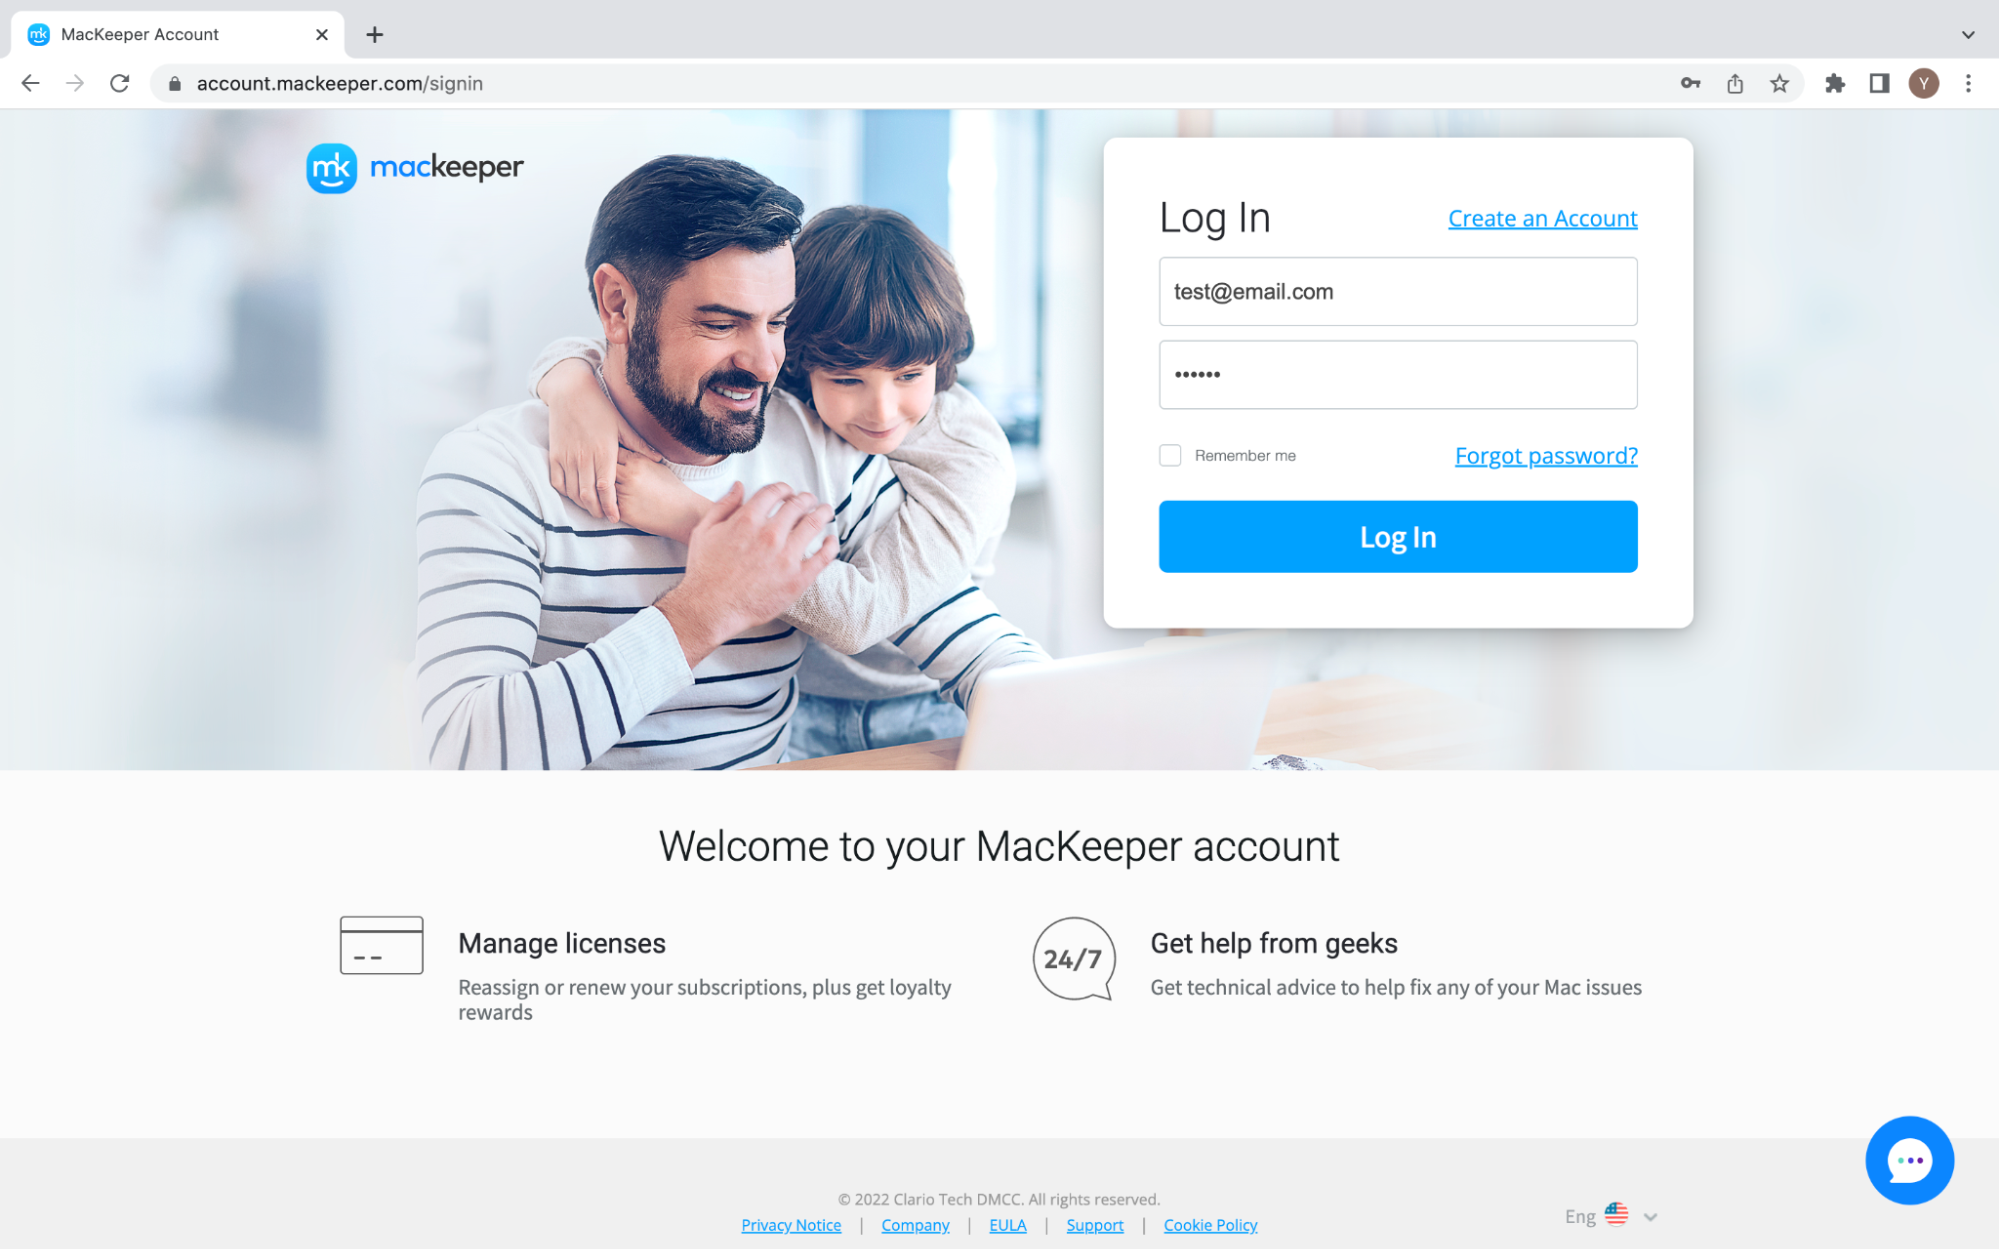
Recover your account password
1. Visit https://account.mackeeper.com/signin
2. Click Forgot password
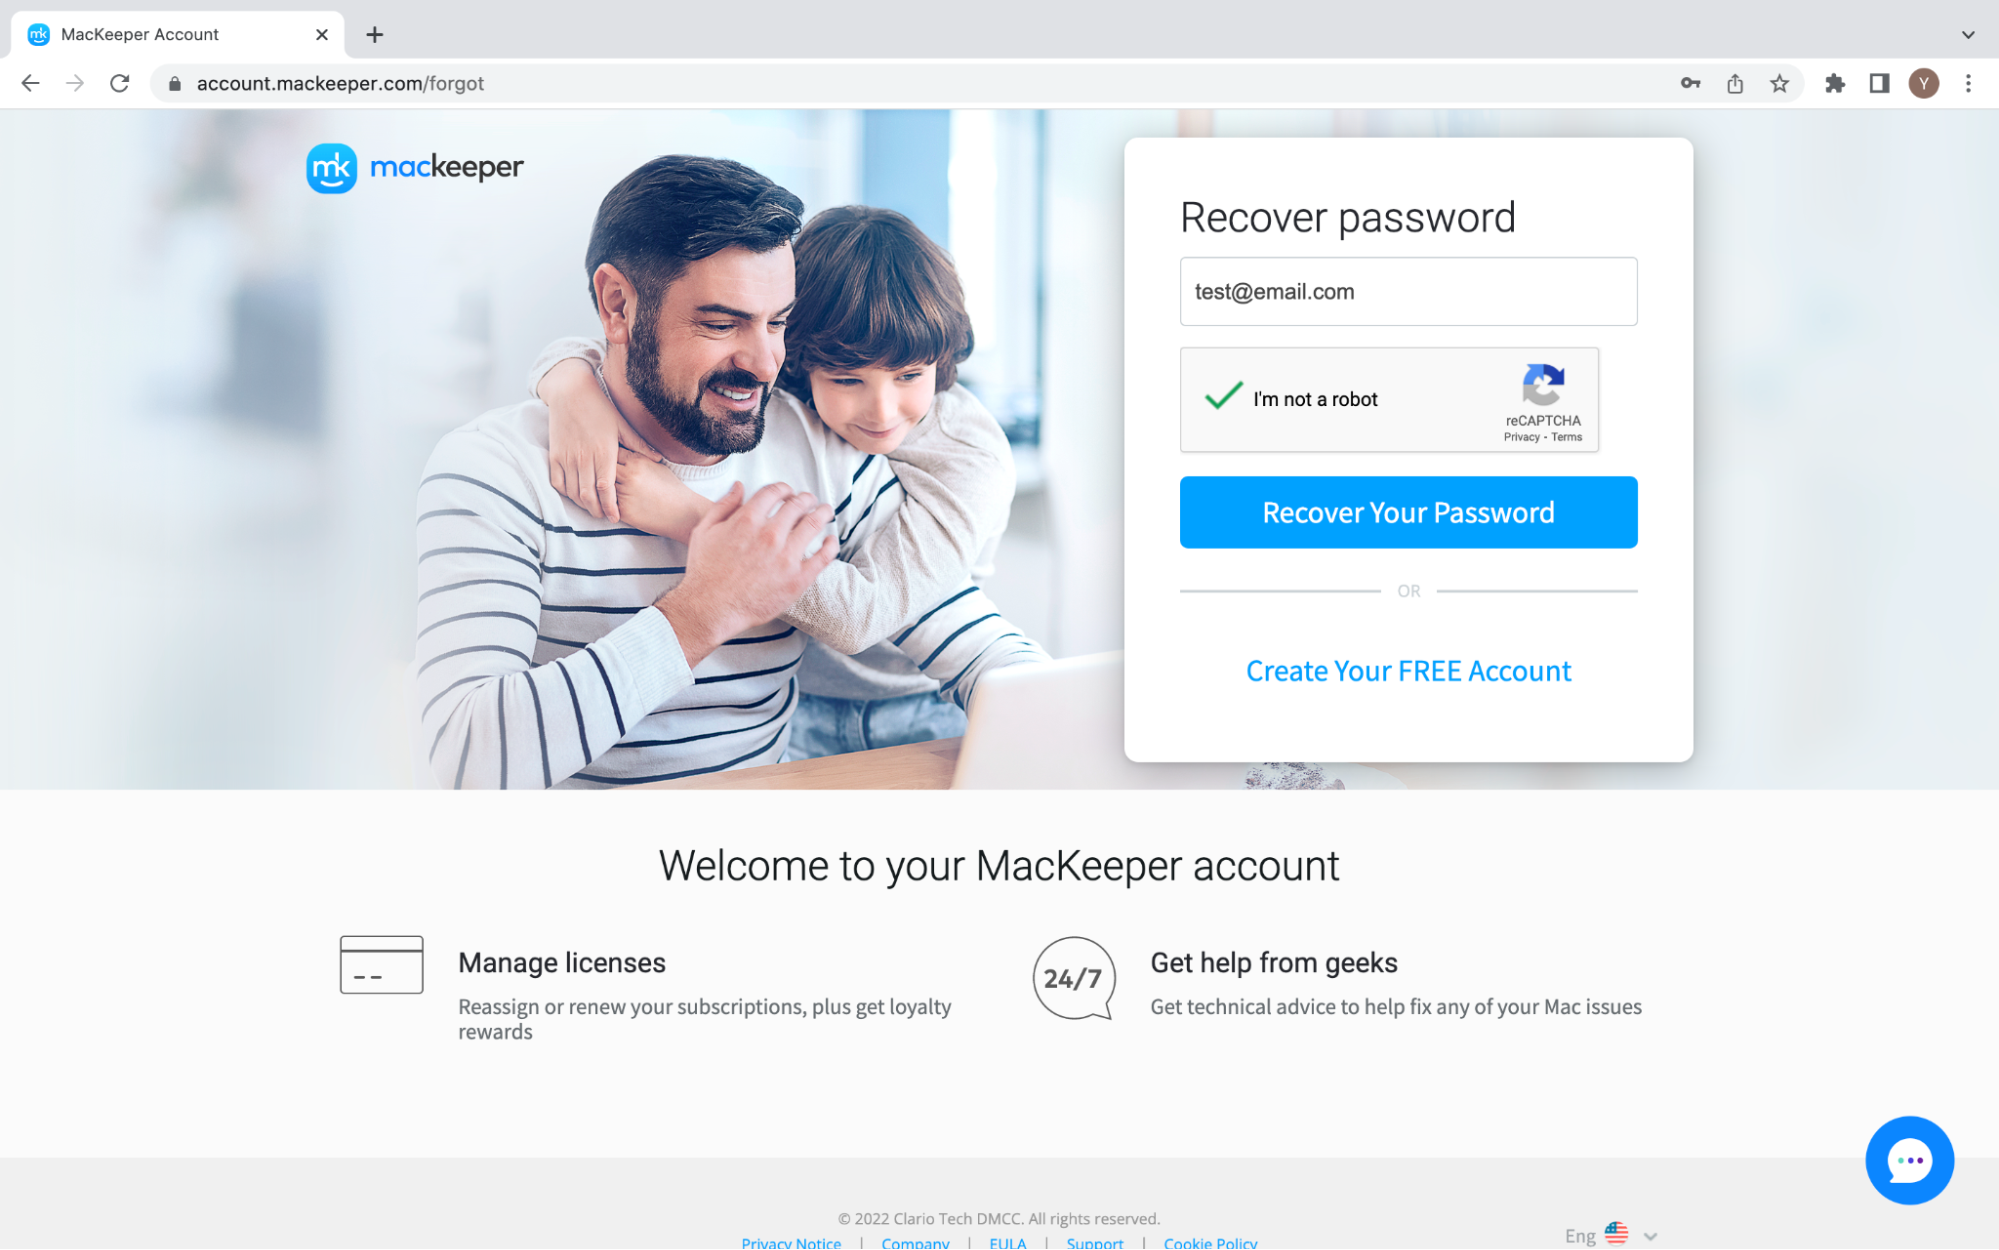
3. Enter your account email address, then hit Recover Your Password
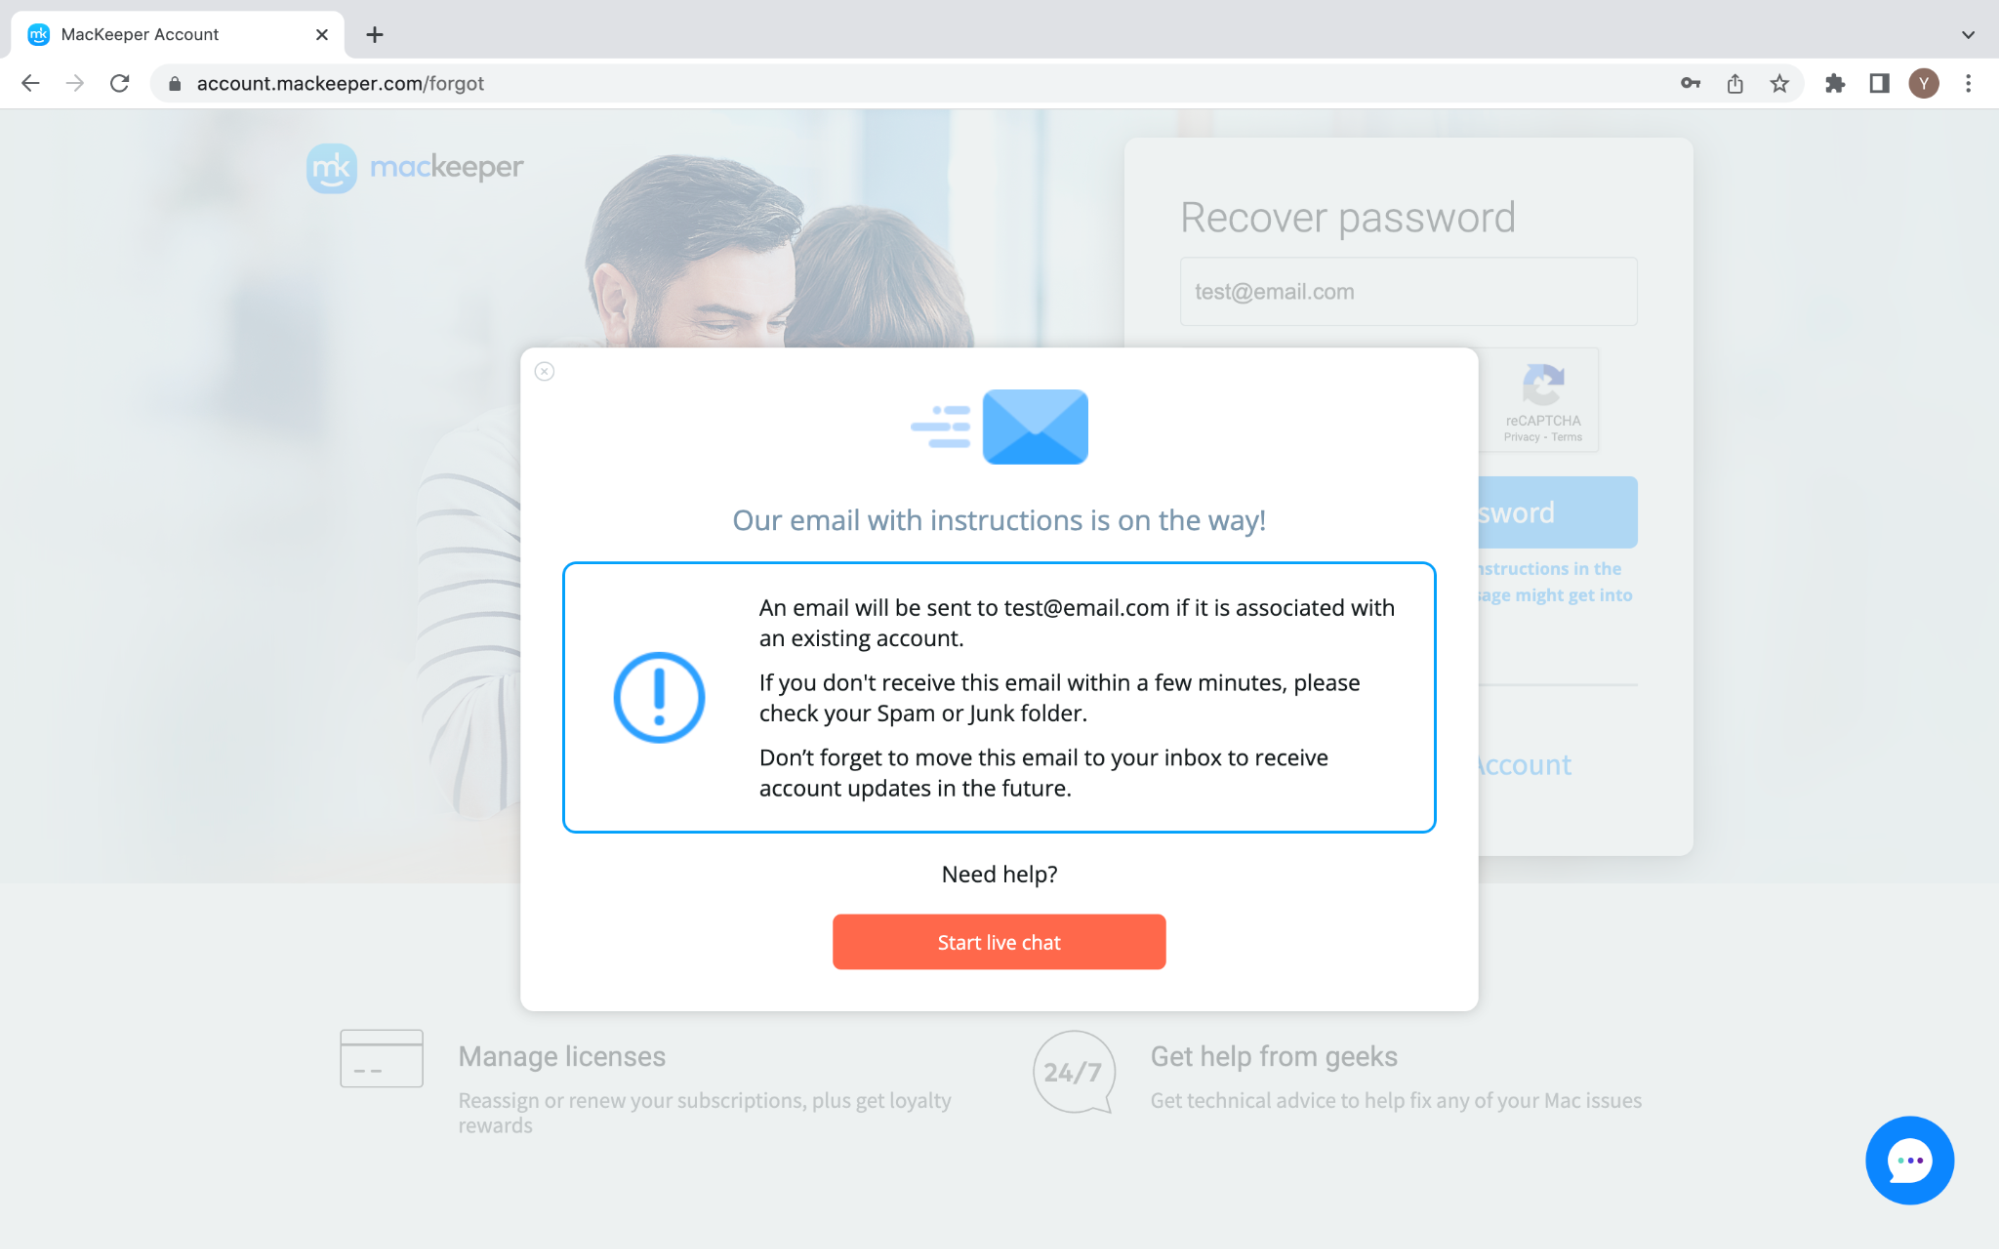
4. Check your inbox for an email titled Your password reset link is here
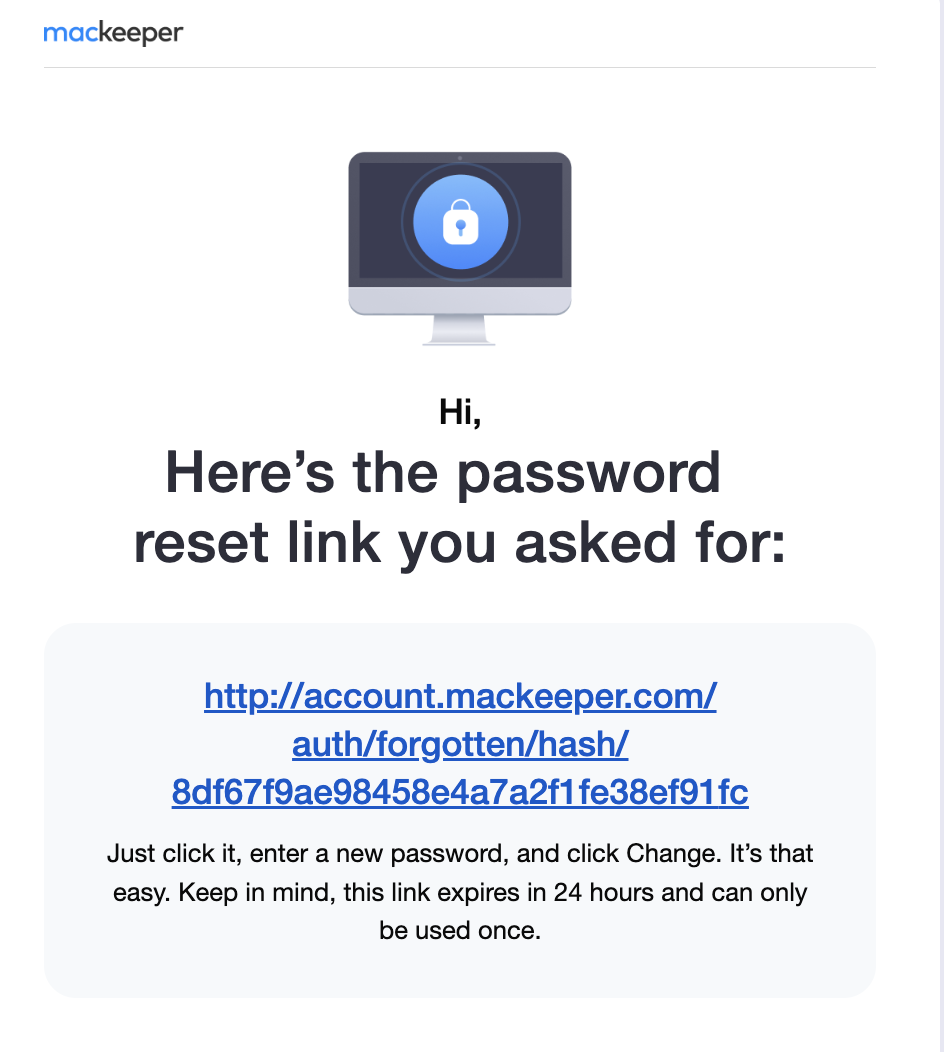
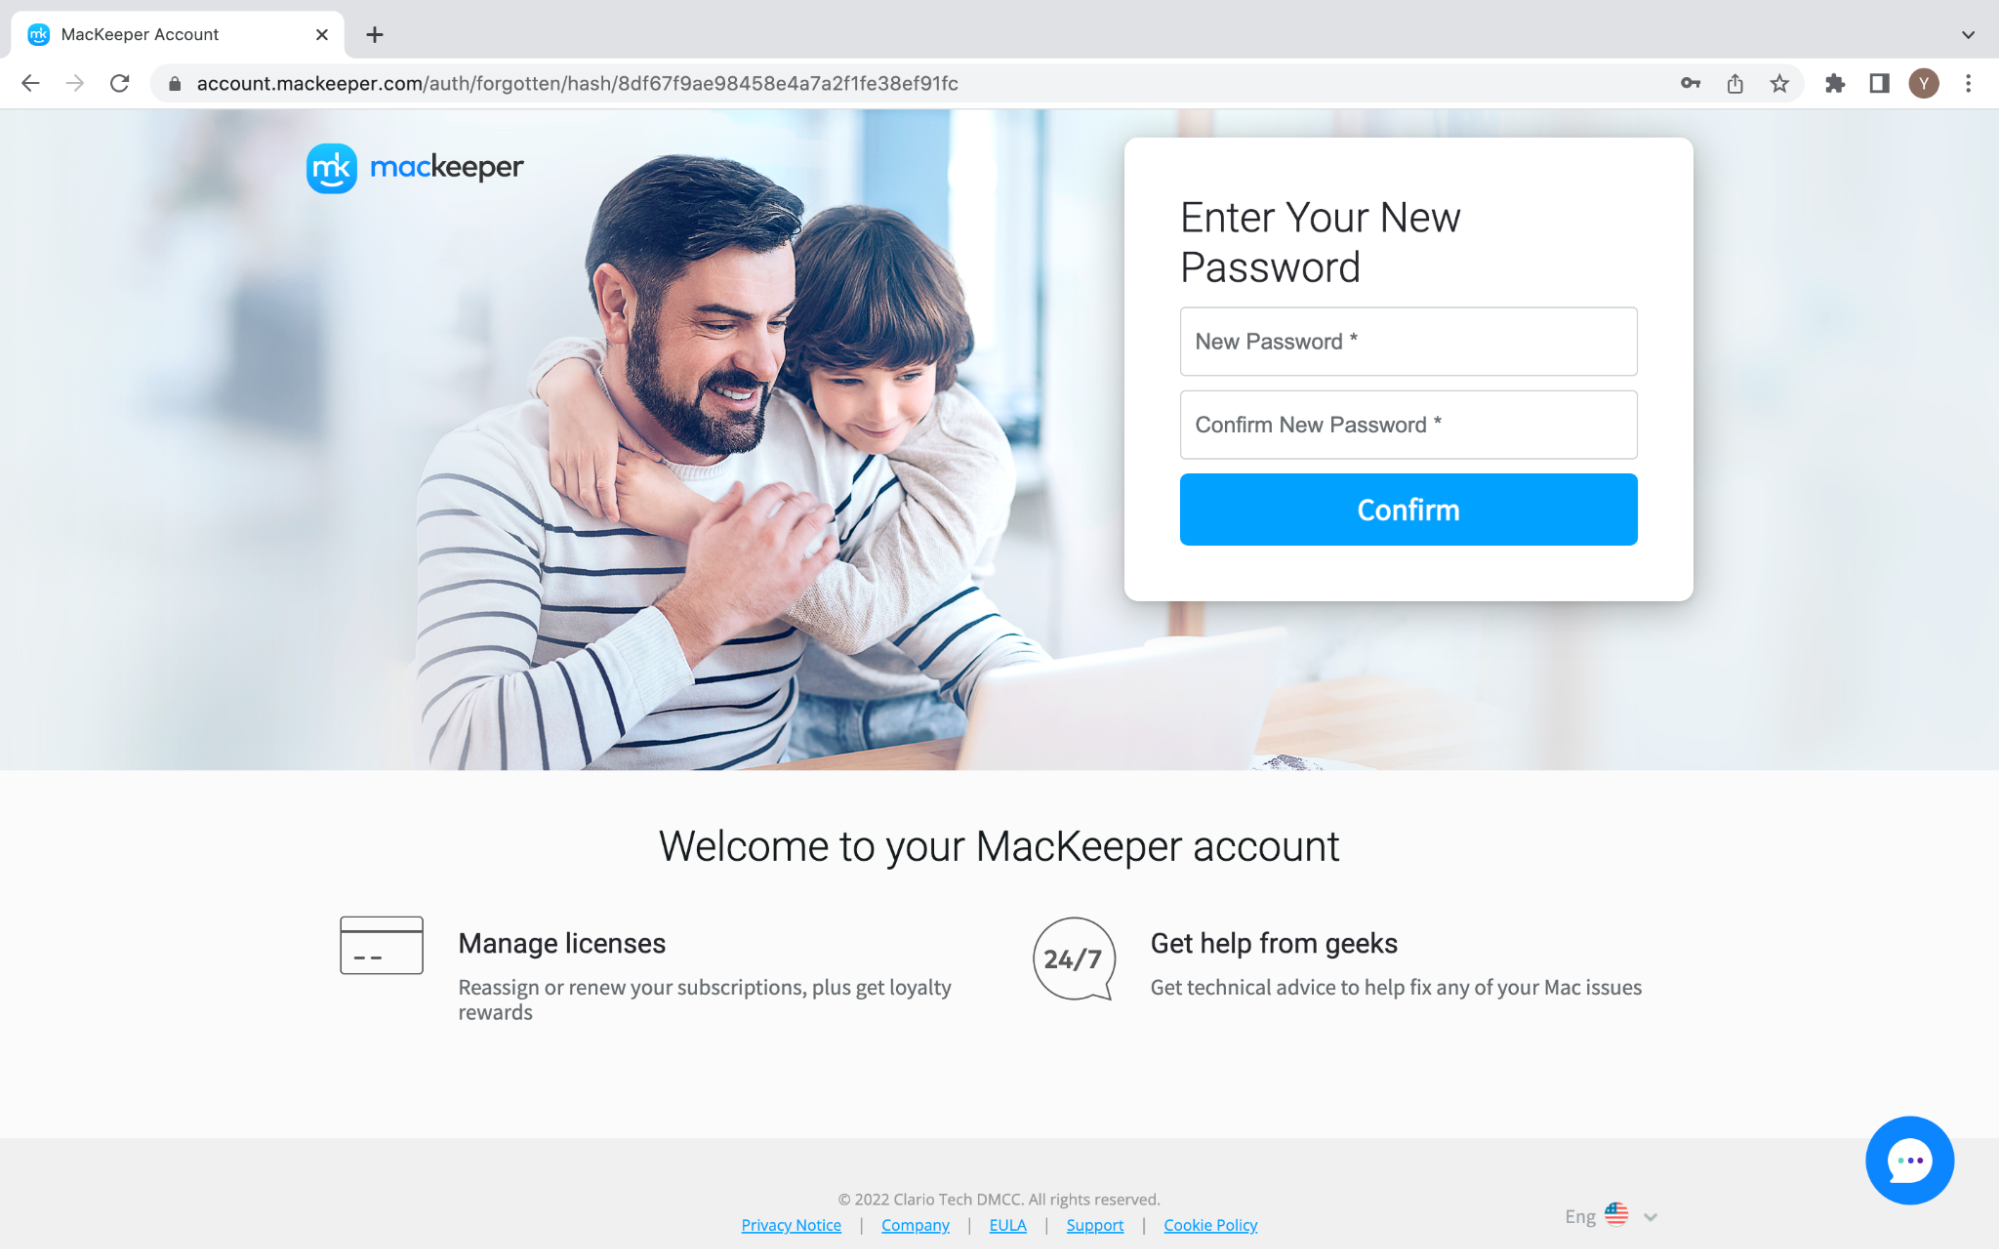
5. Follow the link from the email and create a new password
6. Click Confirm to complete changing your password
What you can do with MacKeeper account
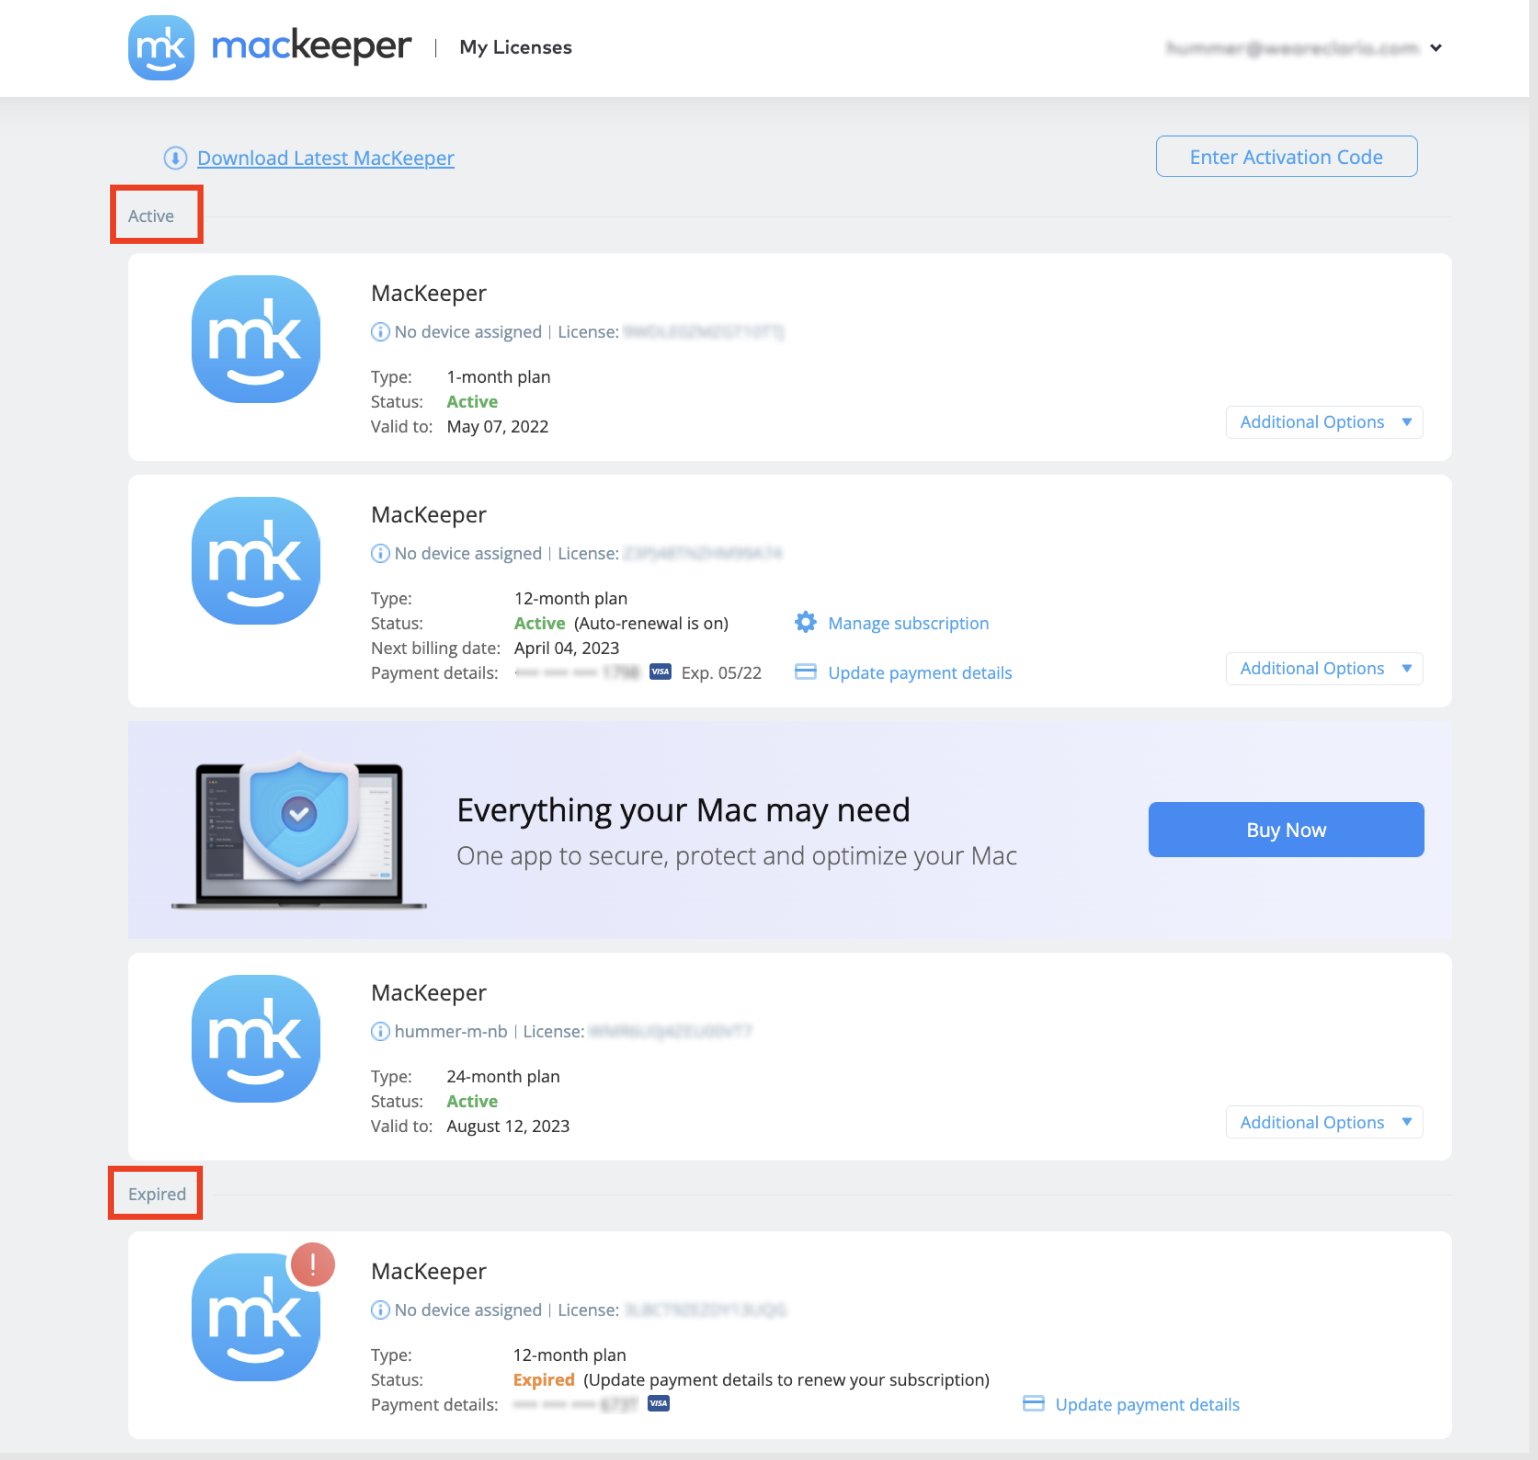
You’ll see the list of your licenses on the main page once you log in to your MacKeeper account. Active subscriptions appear at the top, while Expired ones are at the bottom of your account page.
There are many helpful account management tools included in your MacKeeper account. These will enable you to:
- Manage your MacKeeper licenses
- Download the latest MacKeeper version or enter your activation code
- Change your MacKeeper email, password, and update your billing info in Account Settings
- Unsubscribe from MacKeeper newsletters, and change your personal data settings in Privacy Settings
- Start a live chat with the MacKeeper support team
Check your license status
Check the license card if you want to learn more about your current MacKeeper subscription. It contains the following details:

- The name of the Mac assigned to your license. For more details, hover over the (i) icon to see the device type and serial number.
- License: Your activation key
- Type: Your MacKeeper plan (1, 6, or 12 months)
- Status: Active (Auto-renewal is on/off) or Expired subscription
- Next billing date: This is the day you’ll be charged for the next billing period as the auto-renewal is on. If it’s off, this field will be called Valid to and include the date until which you can use your current subscription. Your subscription will be invalid after this date.
- Payment details: The last 4 digits, the expiration date, and type of the credit card you used for purchasing this MacKeeper license
The status of your license will tell you how you can use it. If your license is expired, sometimes you might see the Update payment details (8) button to renew your license. With an active license, you can click Manage subscription (7) to apply a 50% discount for covering another Mac or cancel the auto-renewal. You can also reassign this license to another Mac under Additional options (9).
Transfer (reassign) your MacKeeper license
You can use one MacKeeper license on one Mac at the time. After you log in to MacKeeper with a valid license, it will automatically attach to that Mac.
Here’s how to assign or transfer your license to another Mac:
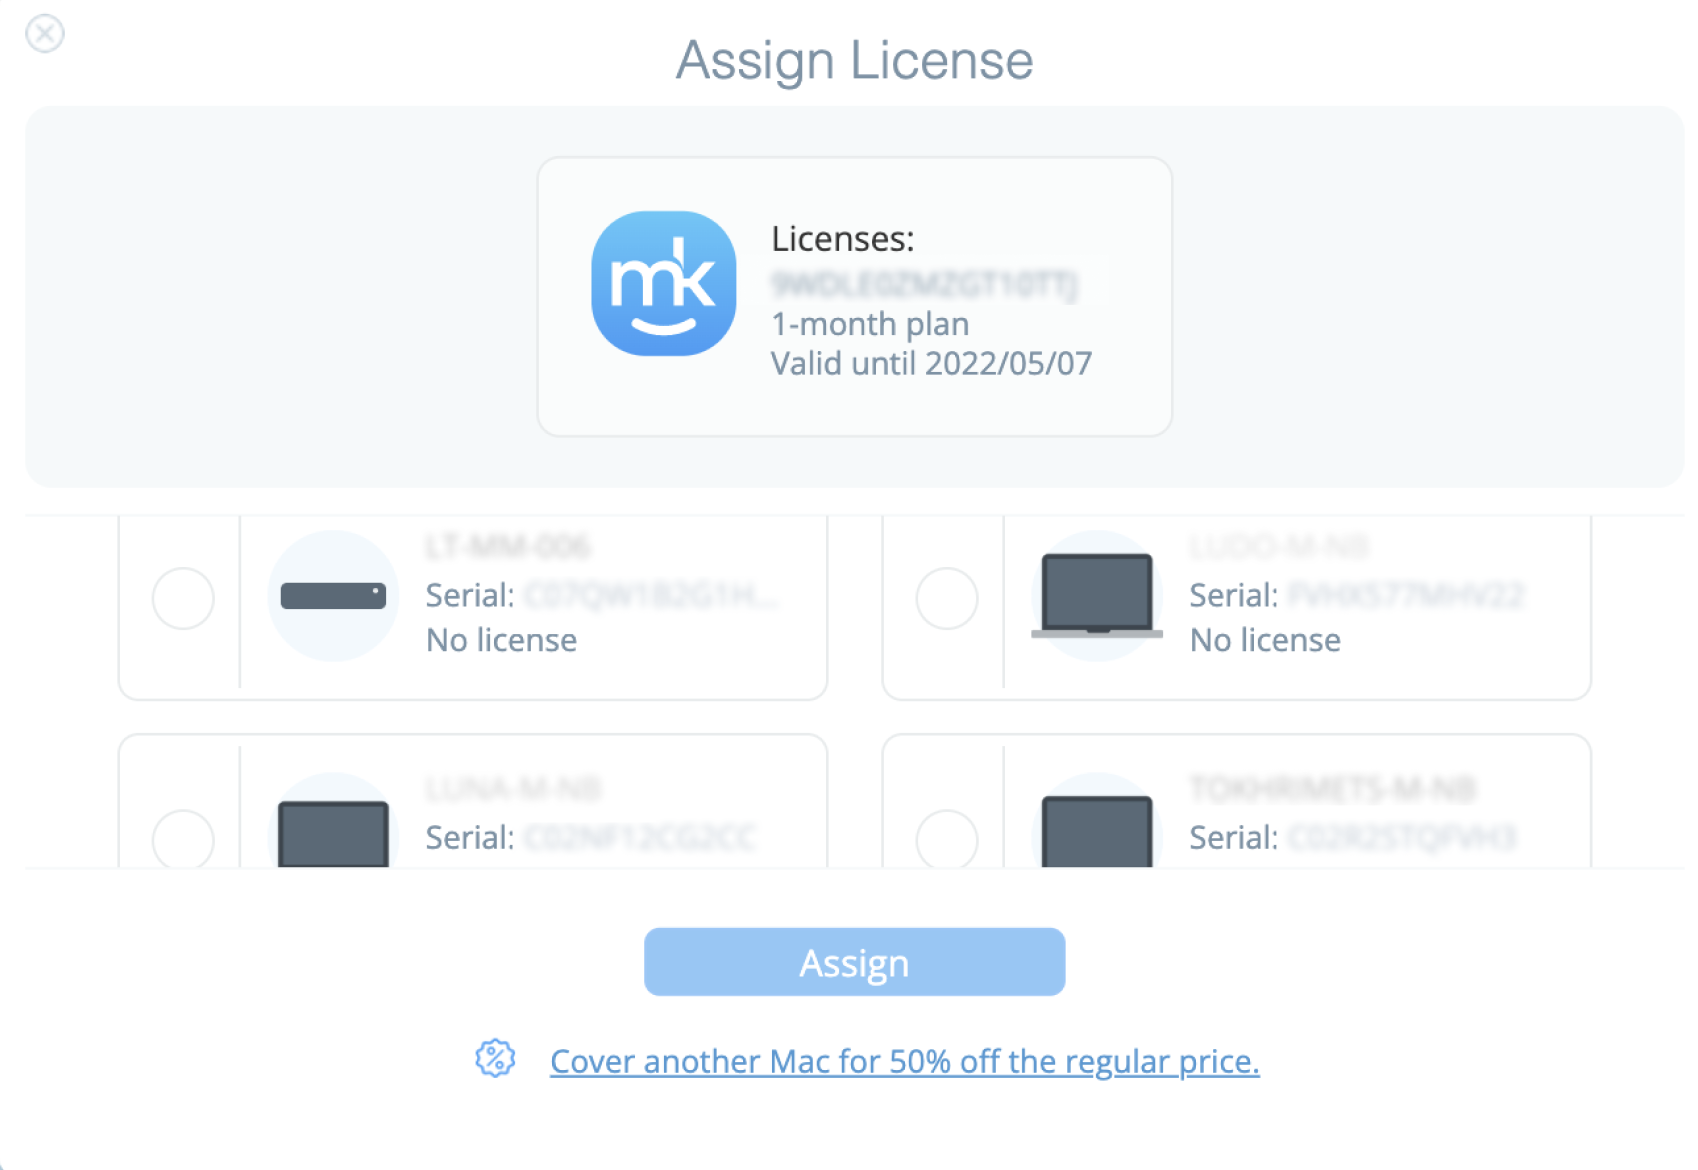
1. Hover your pointer over Additional options and select Assign or Reassign

2. Find the Mac you would like to assign the license to in the list. These are all Macs logged in to MacKeeper with your email address
3. Log in to the MacKeeper app from the desired Mac so it will appear in the list. If the device you are looking for is not in the list, select Unlink license and click Reassign.
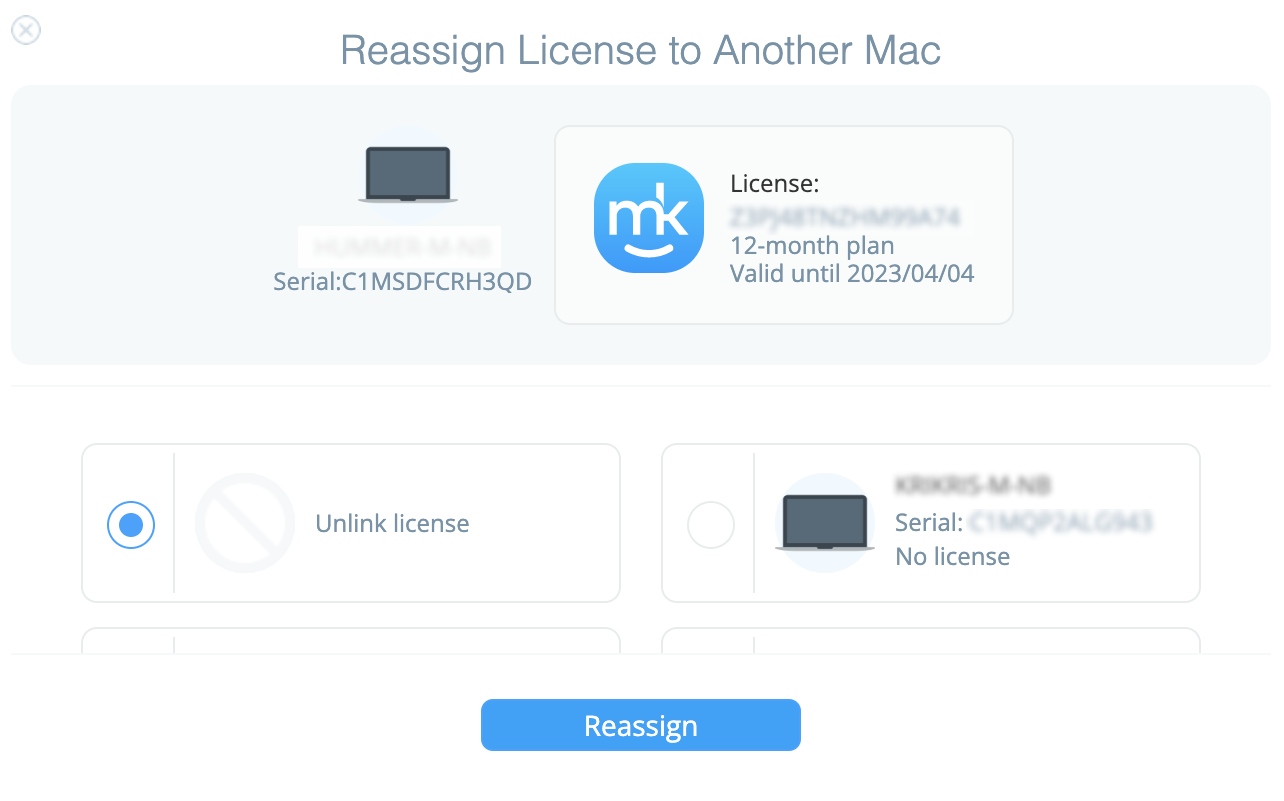
4. If your device is in the list, just select it and click Assign
Cancel your MacKeeper subscription
By default, every MacKeeper license automatically renews after each billing date. If you want to cancel the auto-renewal and just use the remaining days of your subscription, here’s what you need to do:
1. Log in to your MacKeeper account
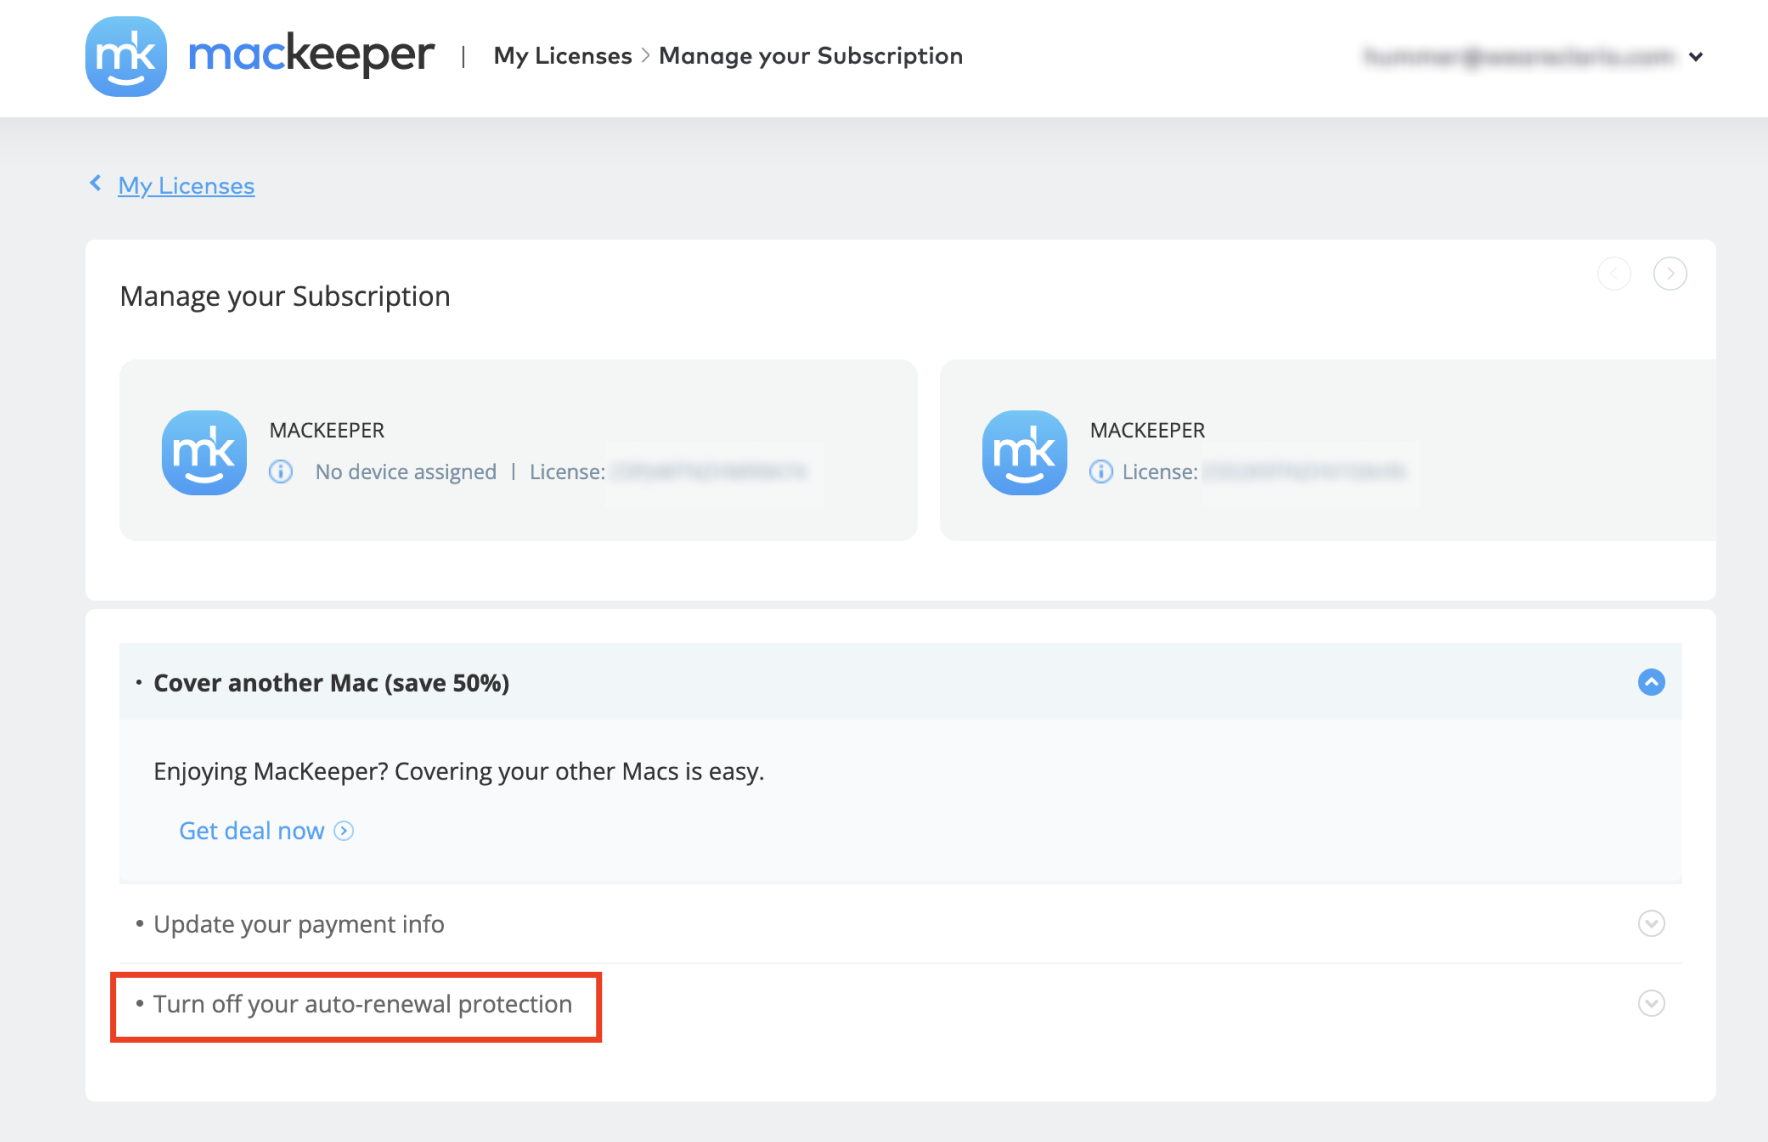
2. Click Manage subscription on your license card

3. Hit on Turn off your auto-renewal protection
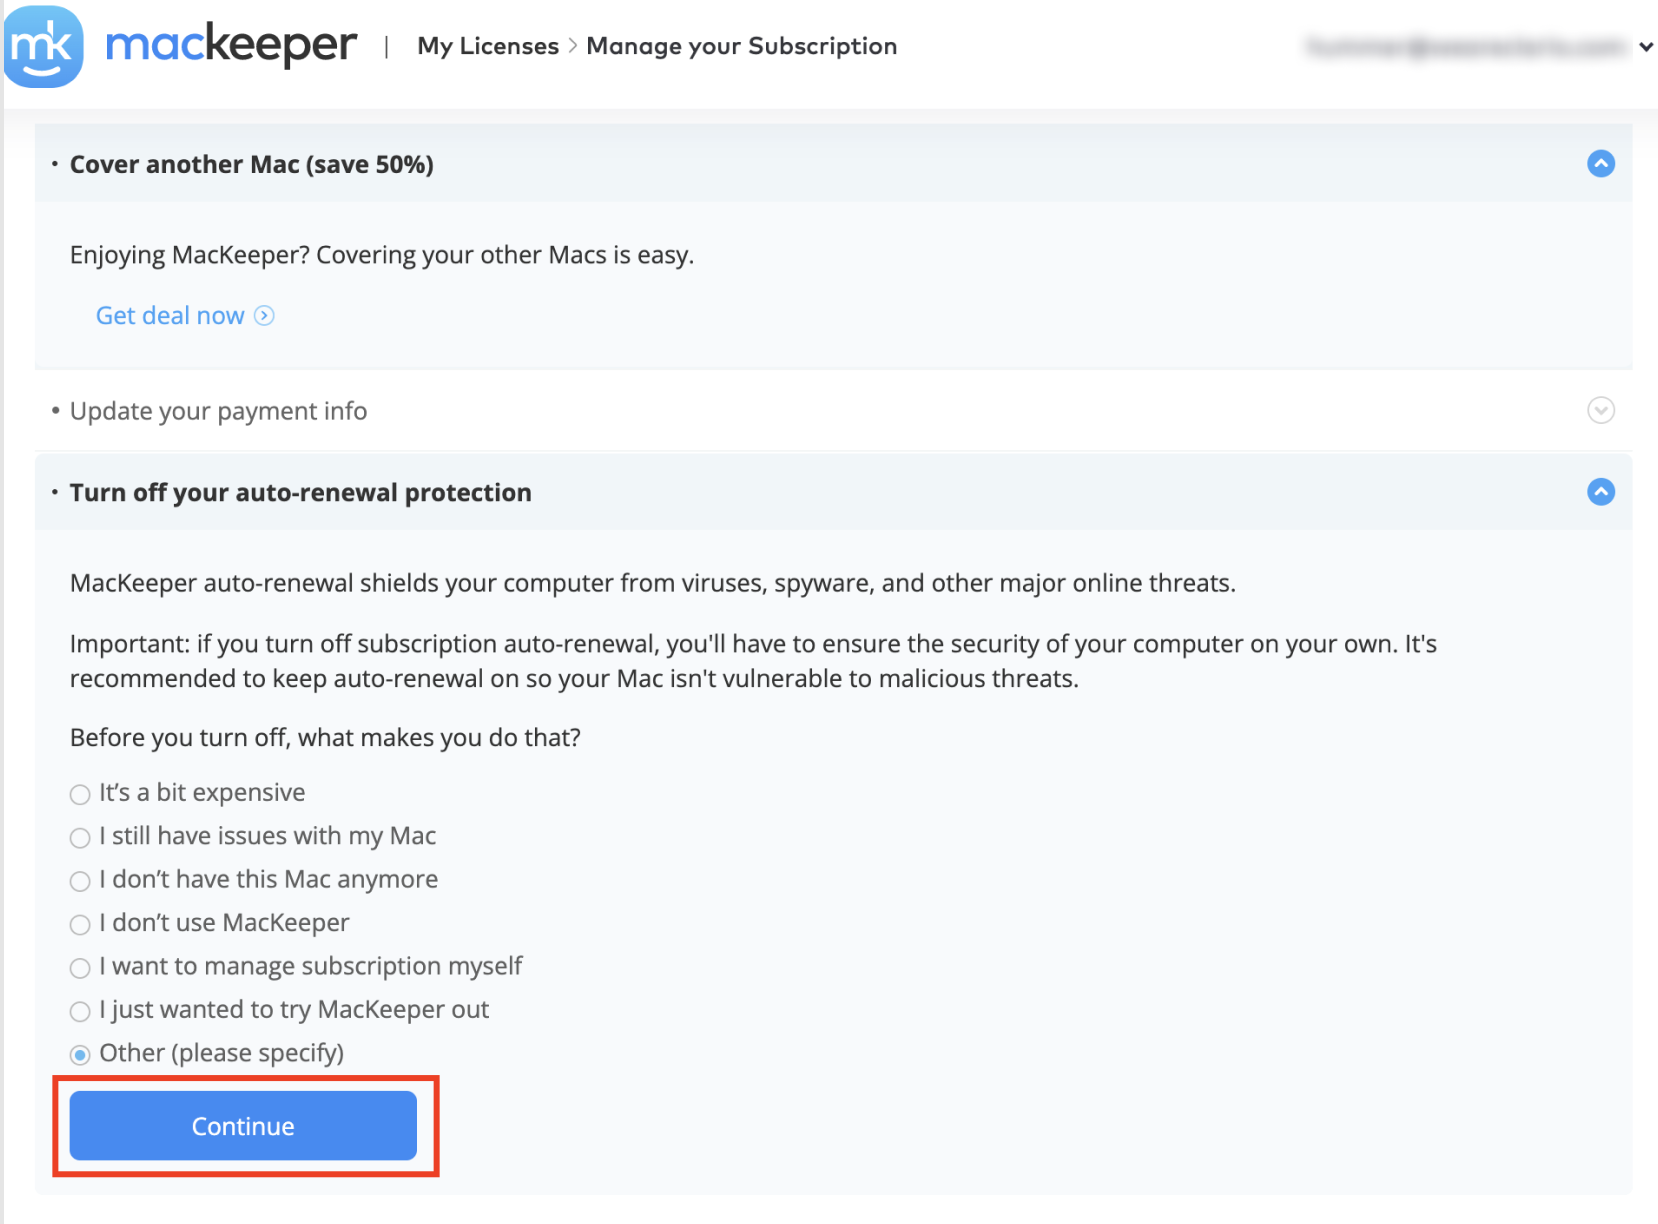
4. Select the reason and click Continue
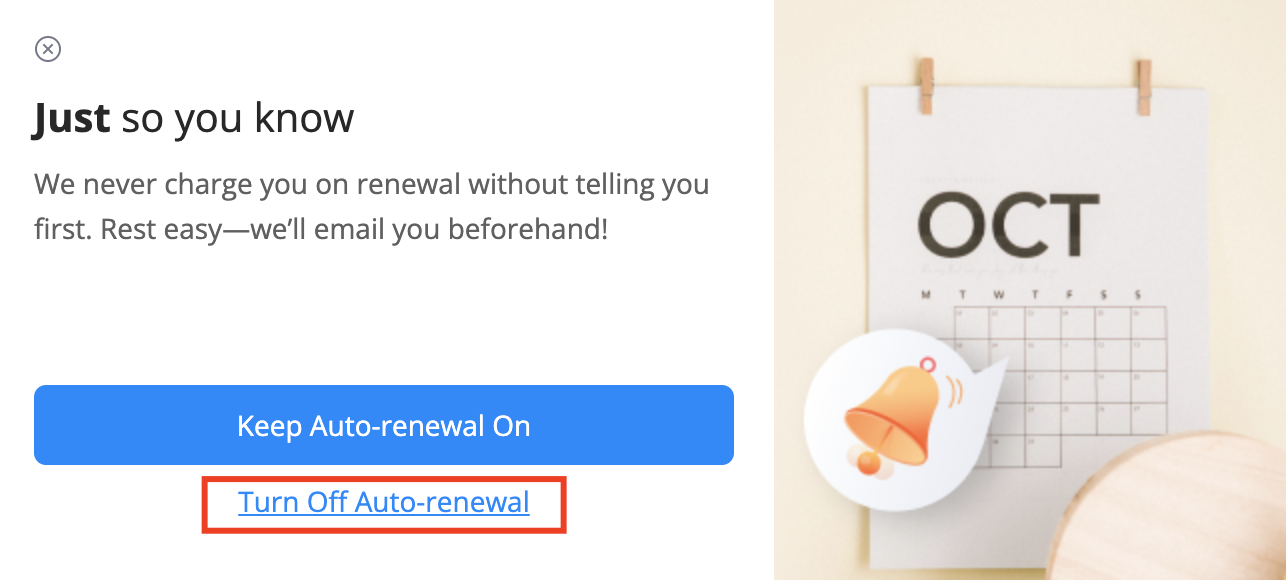
5. If you still wish to cancel your subscription, click Turn Off Auto-renewal
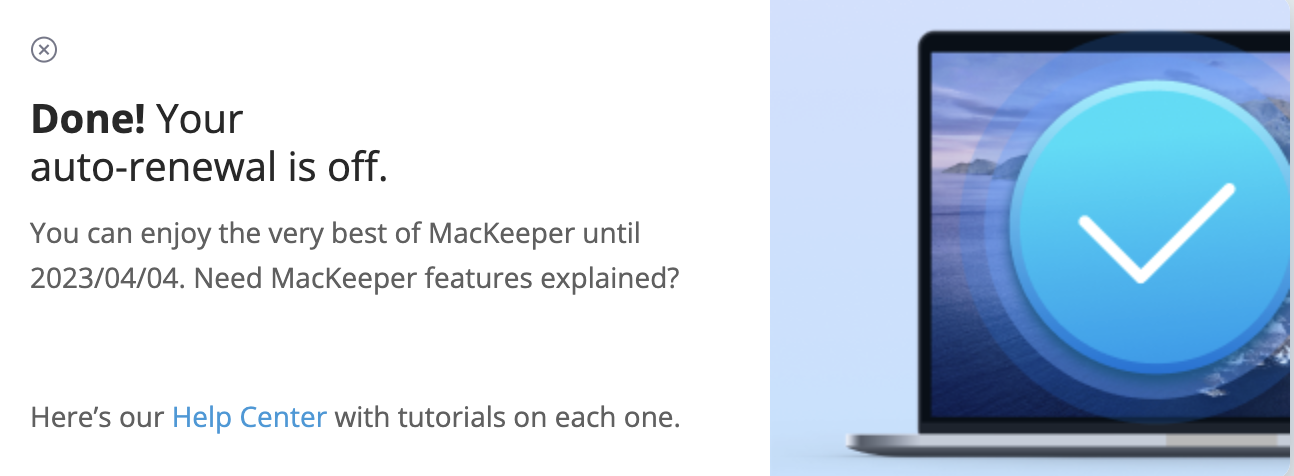
6. That’s it. You’ve successfully canceled the automatic renewal
Turn on subscription auto-renewal
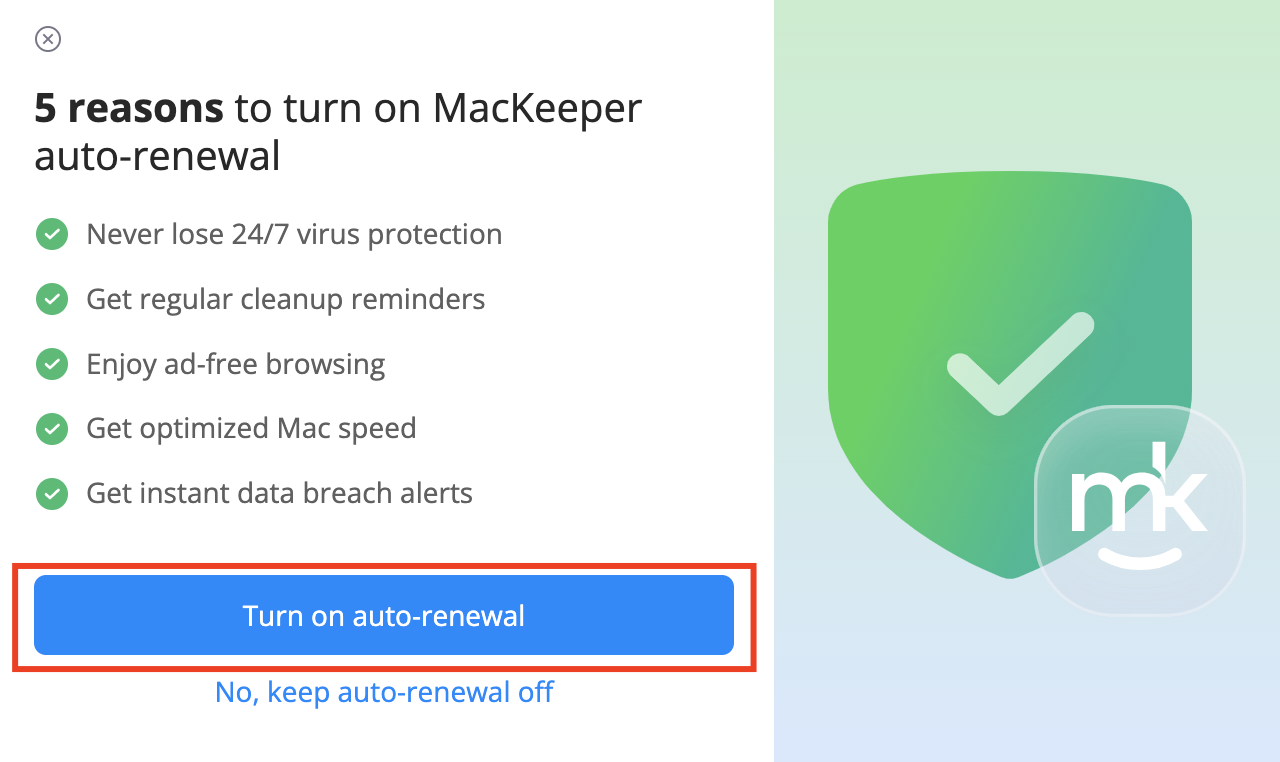
If you changed your mind and want the MacKeeper license to renew automatically, here’s what you need to do:
1. Log in to your MacKeeper account
2. Click Turn on auto-renewal on your license card

3. Confirm by clicking the blue button in the new window
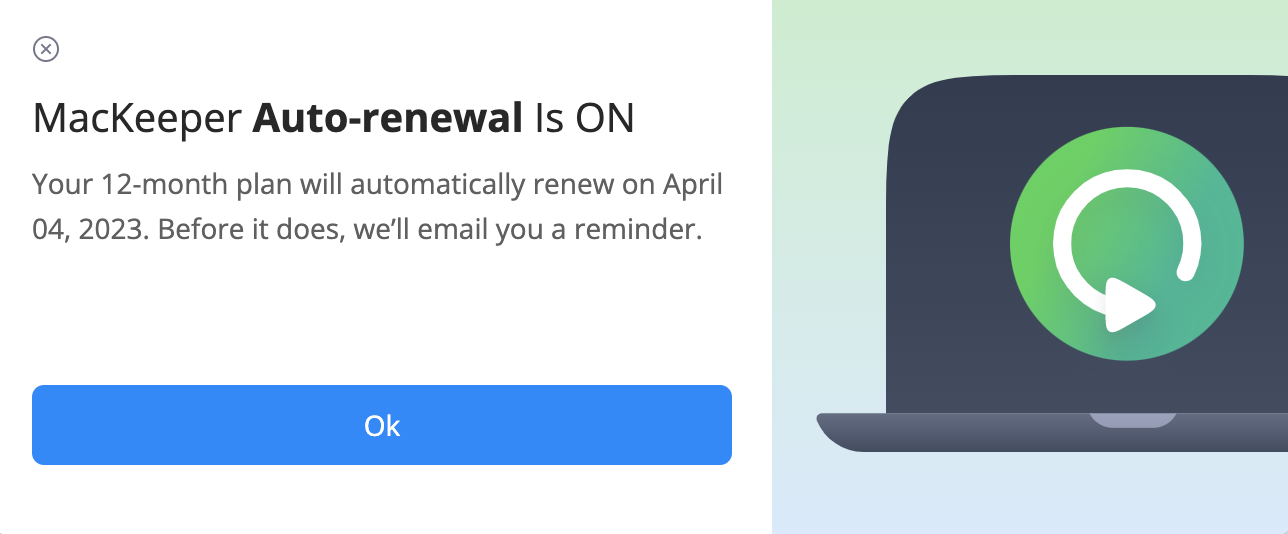
4. Done! Now, you won’t lose your MacKeeper license.
Update your billing details
If your MacKeeper license renewal is declined due to old payment details, or your payment method has changed, you might need to update your billing data.
1. Log in to your MacKeeper account
2. Click Update payment details on your license card

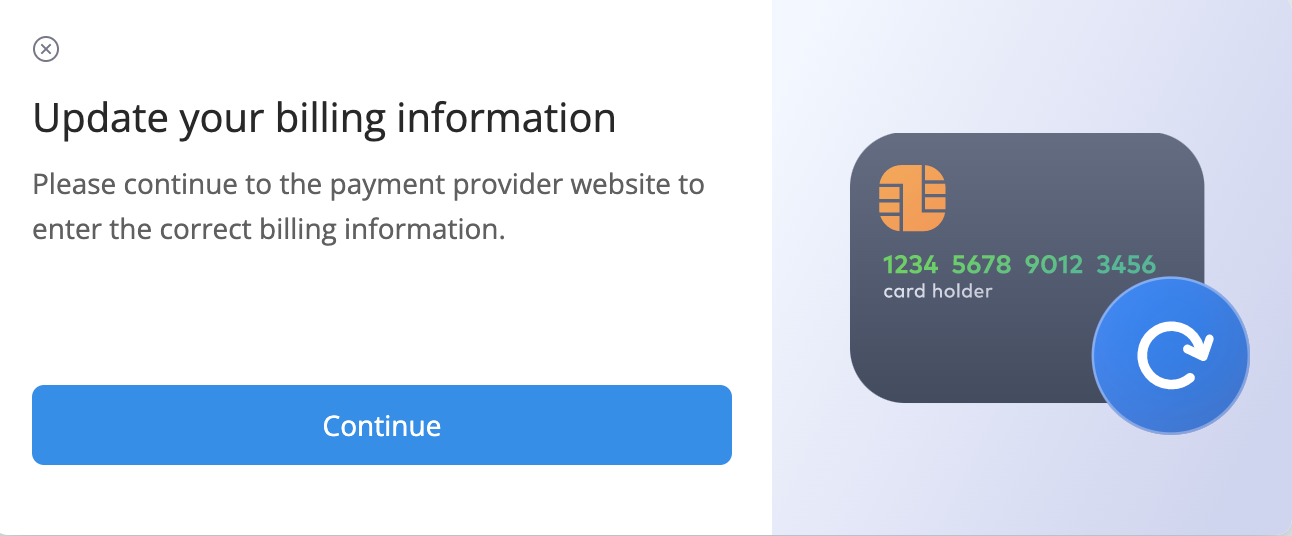
3. Click Continue to update your payment info on the payment provider website
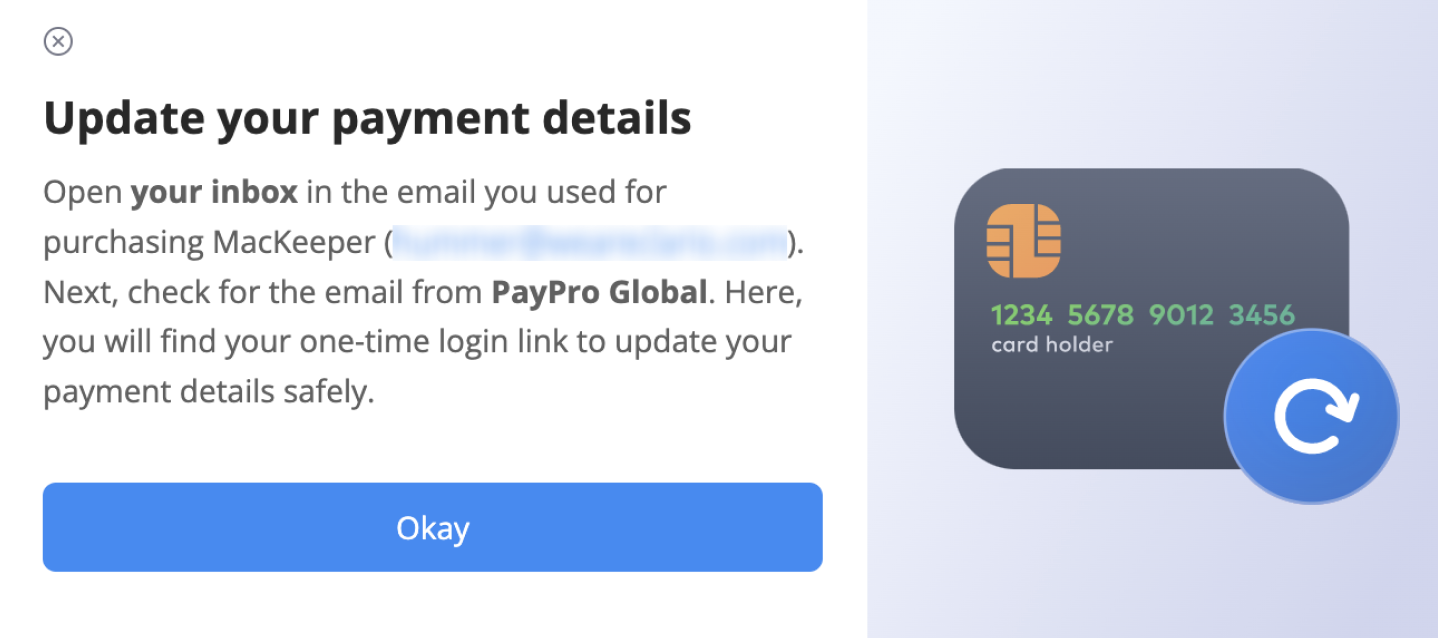
4. Alternatively, you might need to check your inbox and follow the instructions sent to your email by one of our payment providers
How to manage your account settings
You can change the email address and password for your MacKeeper account, manage your privacy settings as well as delete your MacKeeper account.
1. Log in to your MacKeeper account
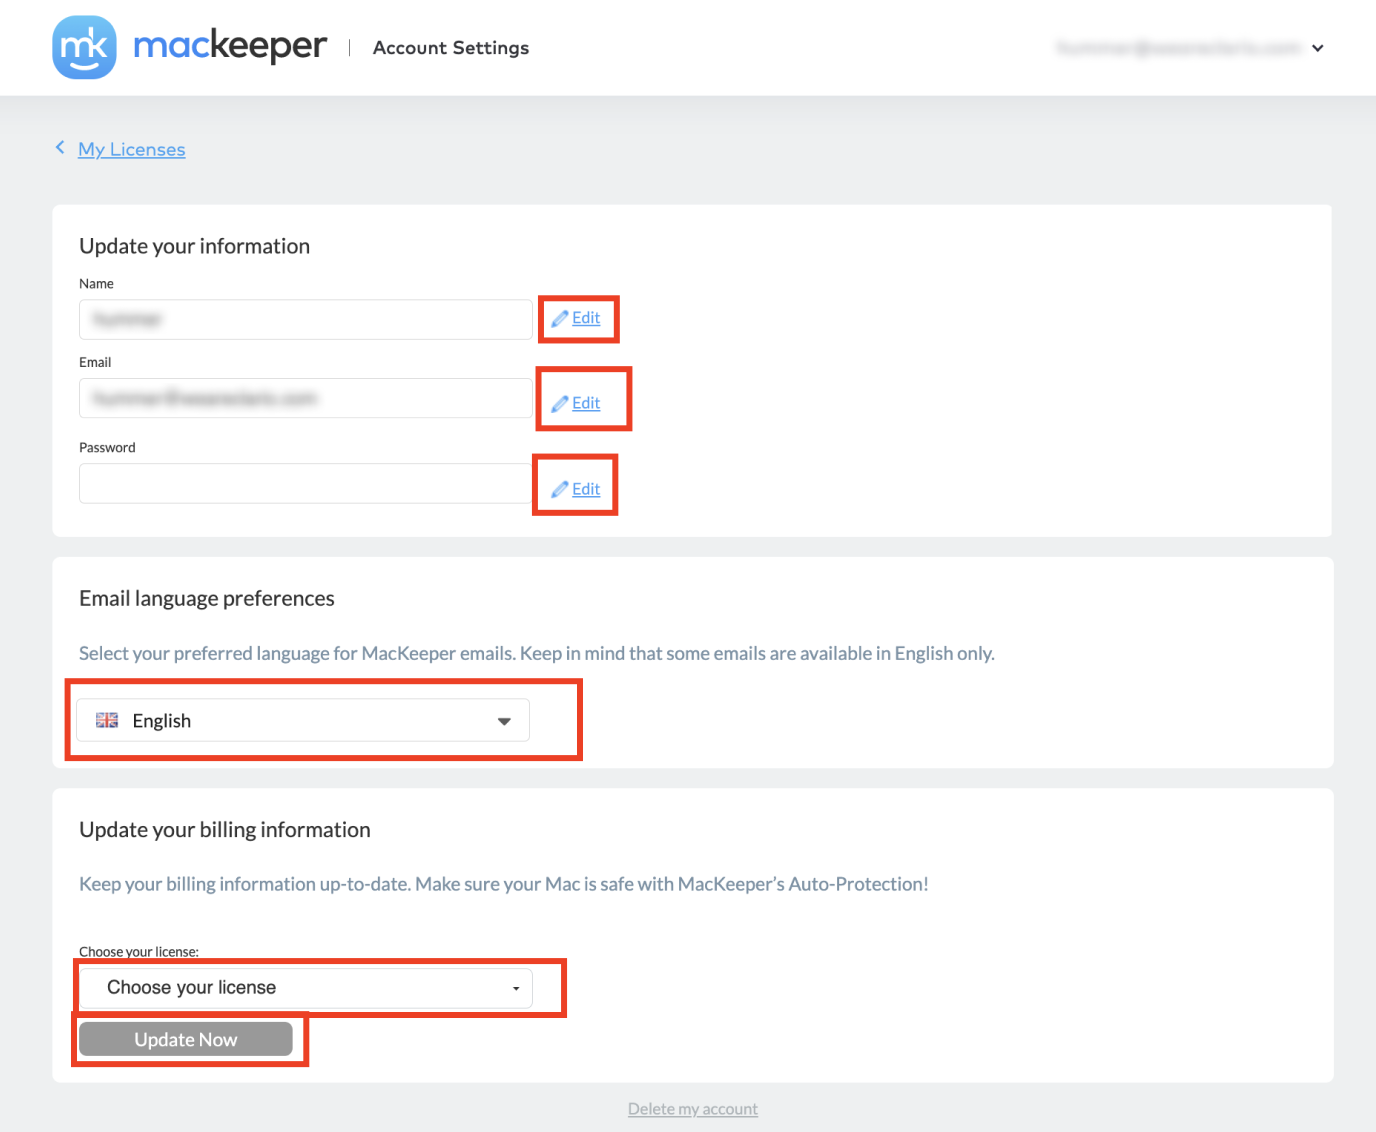
2. Click your email address at the top-right and select Account Settings

3. To change your MacKeeper account name, email, or password click Edit next to the field you want to change
4. Select your preferred language from the list to update your email language preferences
5. To update your billing information, select the license you would like to change the details of, then click Update Now
How to manage your privacy settings
In the Privacy settings, you can manage your consents for use of personal data. Remember, we only use your data to improve our products and personalize our recommendations for your needs.
1. Log in to your MacKeeper account
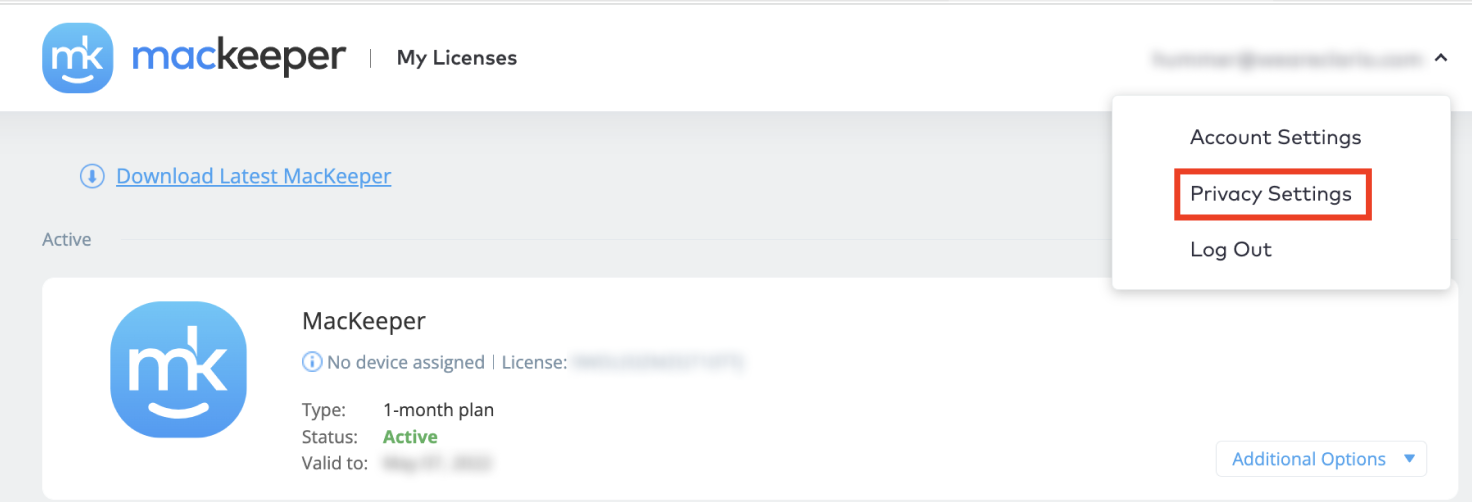
2. Click your email address at the top-right and select Privacy Settings
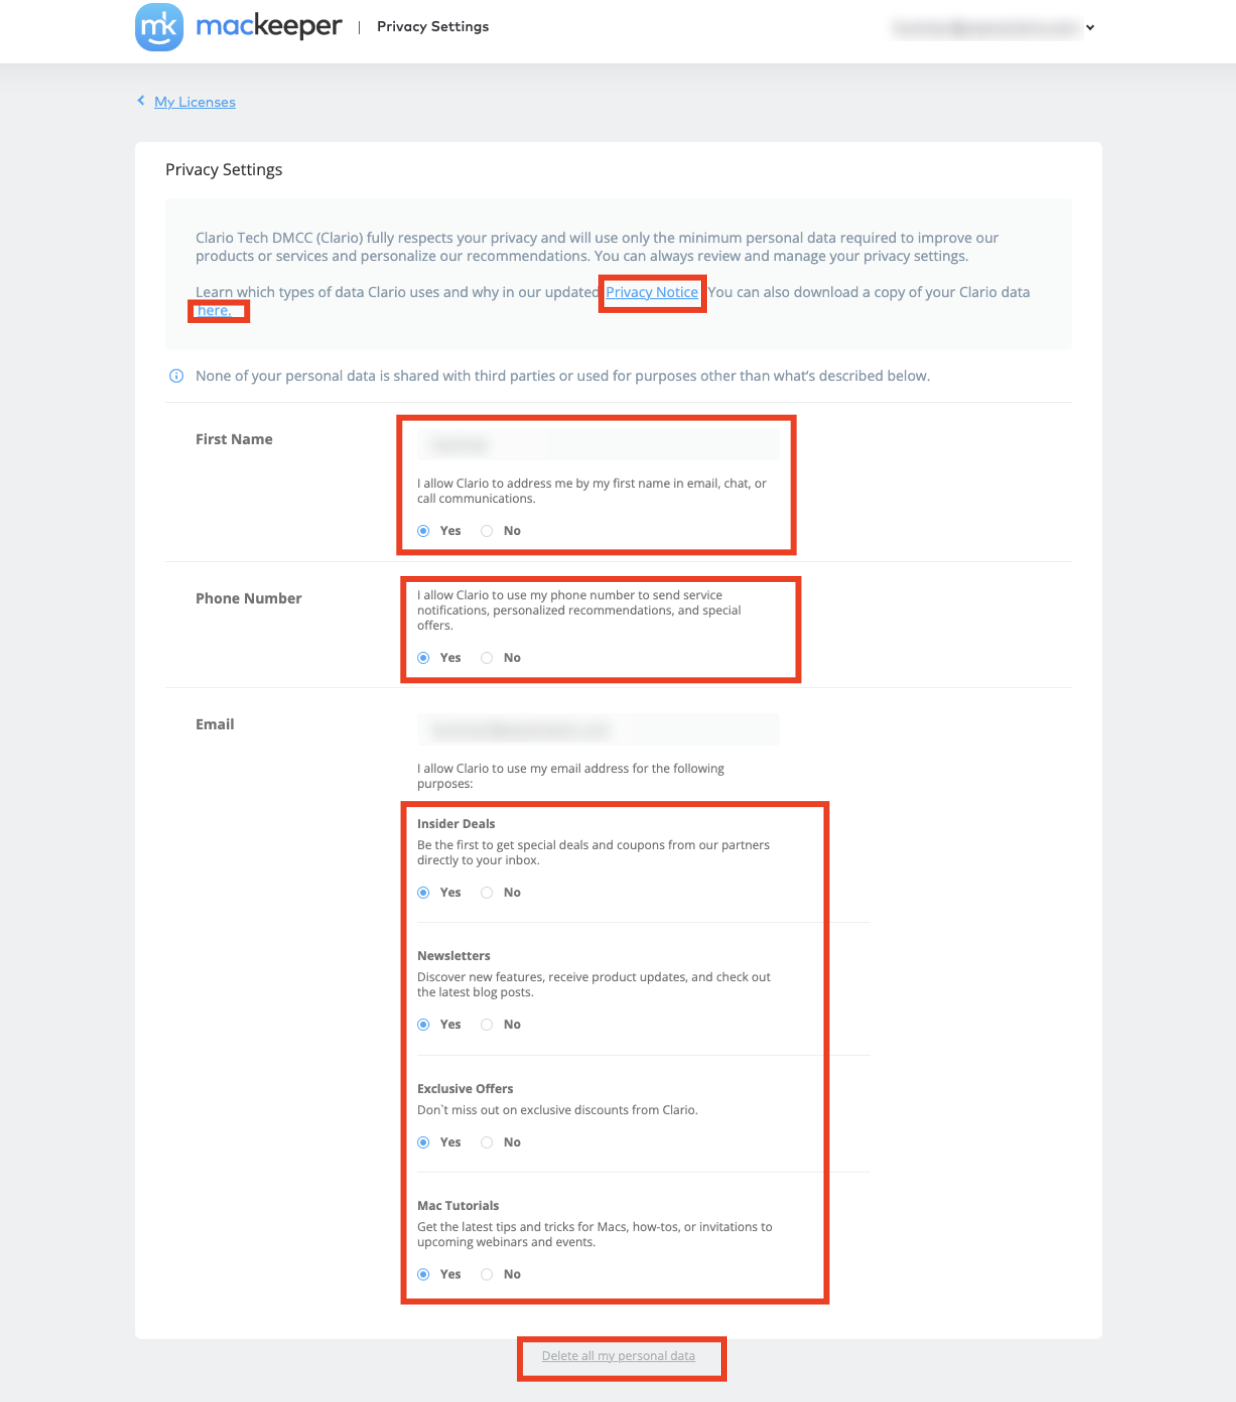
3. To learn which types of data Clario uses and why, click Privacy Notice in the top of the screen. You can also download a copy of your Clario data.
4. Review your personal information, and make changes to your consents if needed. Here you can allow us to address you by your name, contact via your phone number, and manage your email preferences.
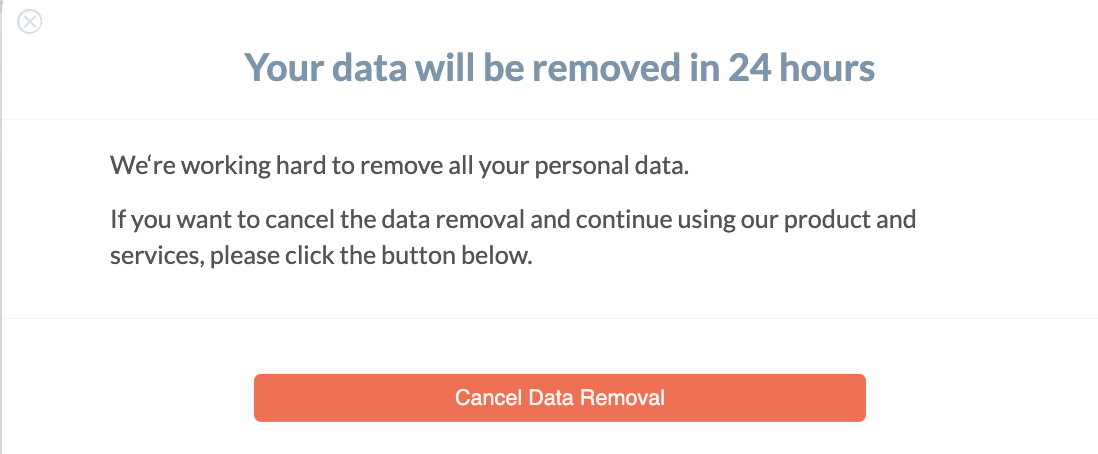
5. Click Delete all my personal data at the very bottom of the Privacy Settings page to remove all your personal data from MacKeeper’s database. Remember, you can cancel this request within 24 hours.
How to delete a MacKeeper account
You can delete your name, email address, or phone number from Privacy Settings at any time.
If you are sure you want to delete your account, here’s how to do that:
1. Log in to your MacKeeper account
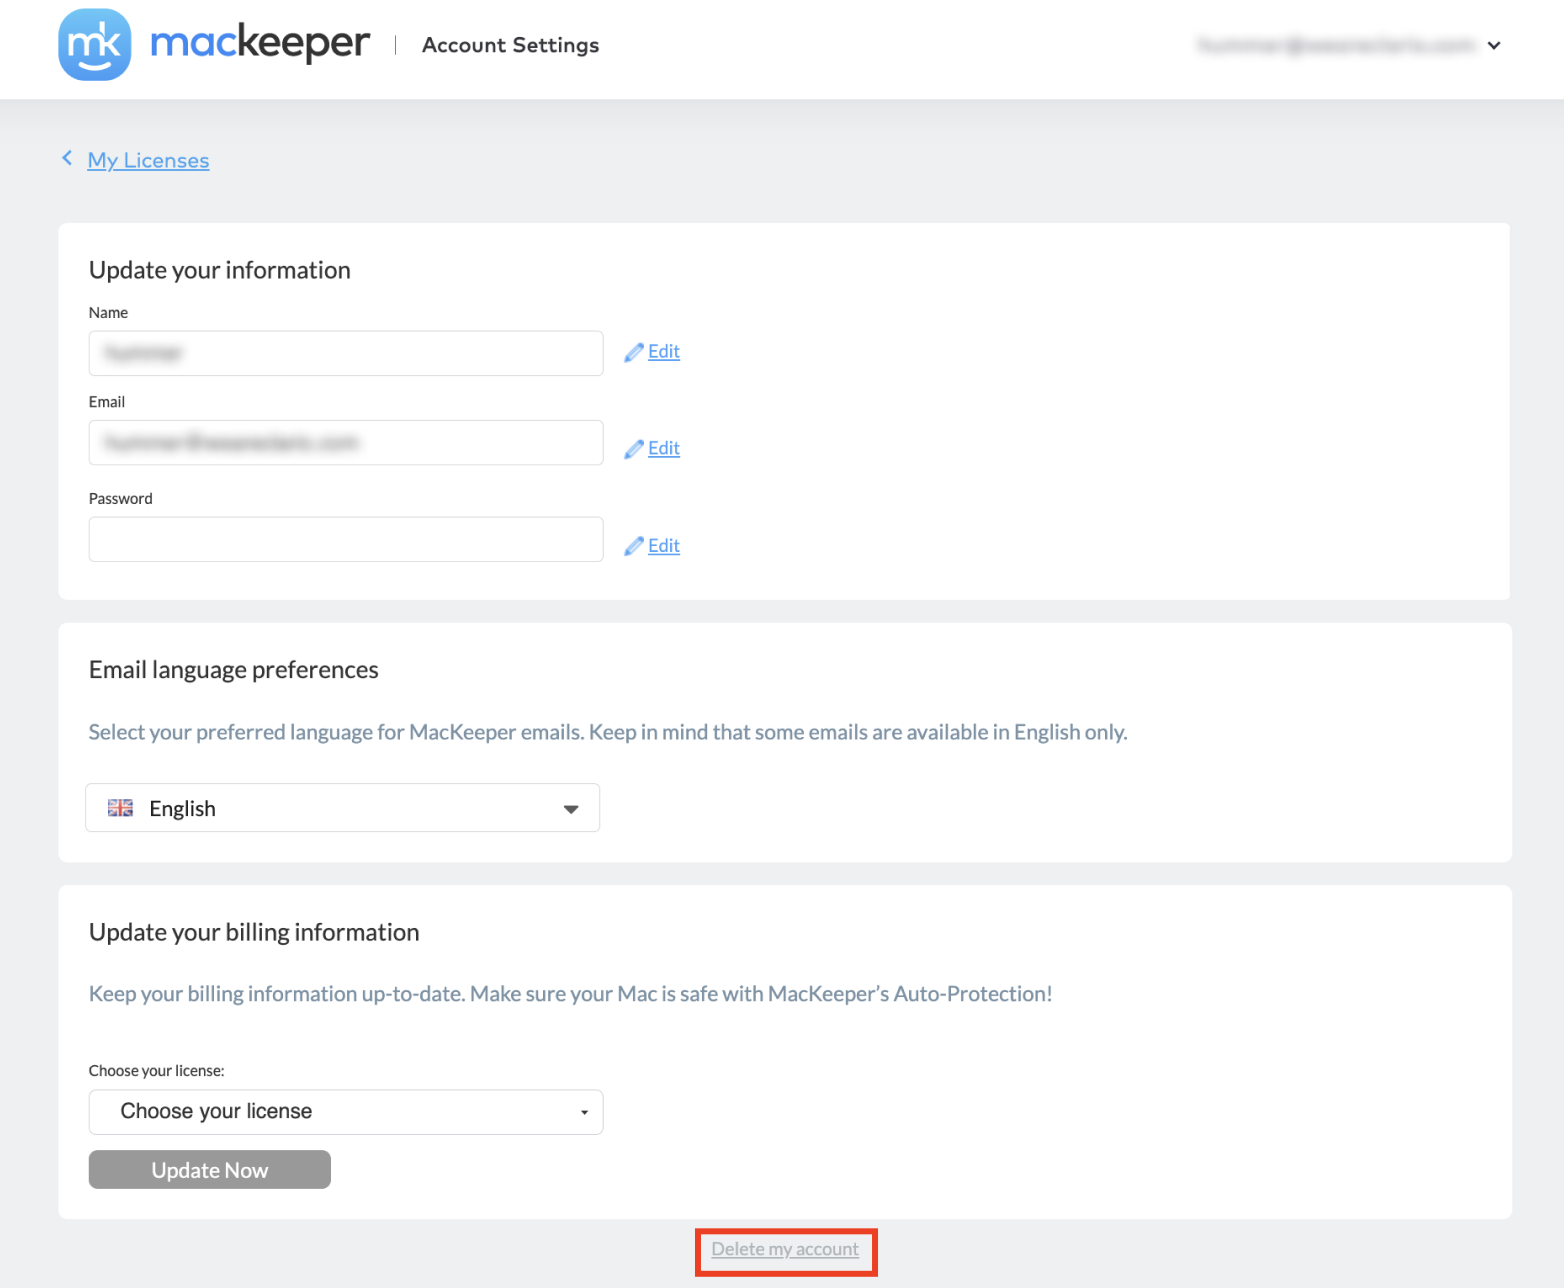
2. Click your email address at the top-right and select Account Settings
3. Click Delete my account at the very bottom of the page
4. Confirm by entering your password and clicking Delete
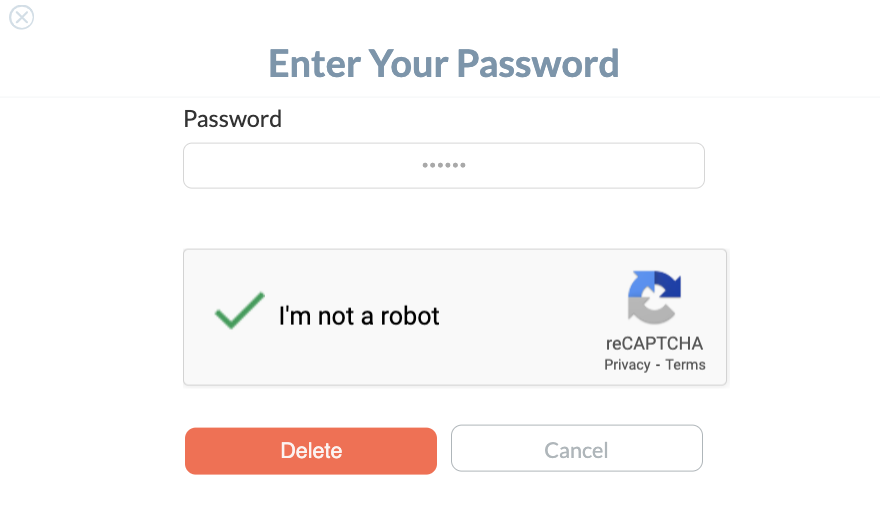
5. See the confirmation window. Your data will be removed within the next 24 hours. You can cancel this request if you change your mind during this period.
