Removing File Copies with Duplicates Finder
Watch tutorial on Duplicates Finder
The Duplicates Finder feature detects file copies that take up space on your hard drive. It groups such identical files so that you can remove unnecessary duplicates.
To check your user folder for file copies, open Duplicates Finder, and then click Start Scan.
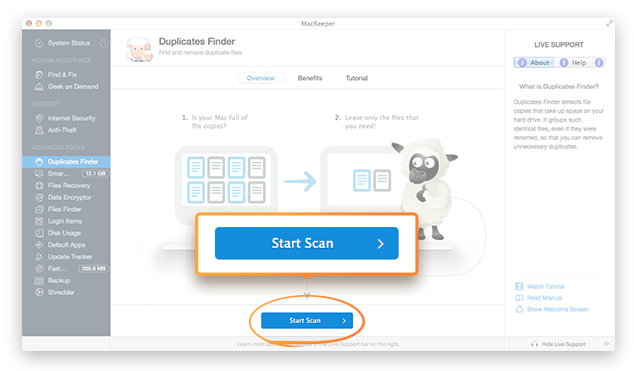 Duplicates Finder. Start Scan
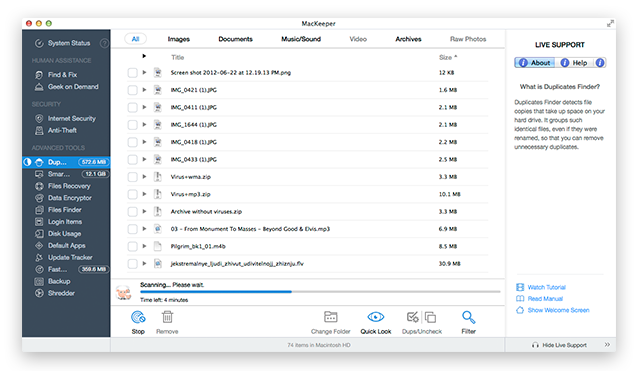 Duplicates Finder checks your system for file copies and displays a list of all files that have duplicates
After the scan is finished, you can define the columns that should be displayed in its list of results. The Title and Size columns are always shown, but you can show more columns. To do it, right-click the column heading area, and then choose the columns that you want to display. The following options are available: Date Created, Date Modified,Last Opened, and Type. You can also click Show All Columns to display all columns.
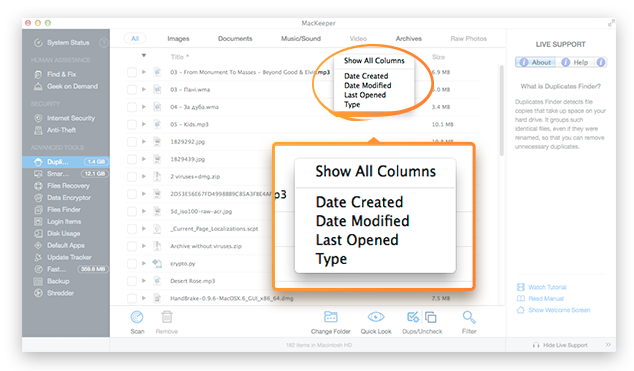 Choose the columns that you want to display
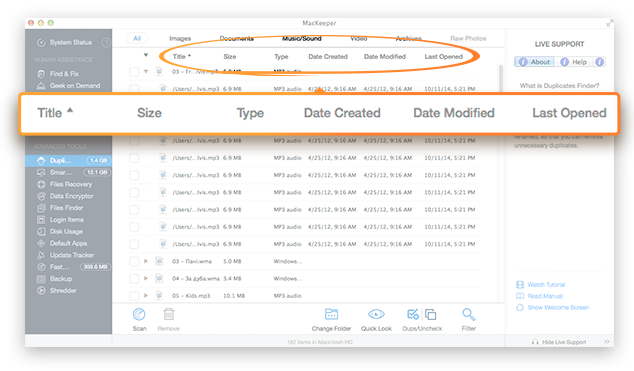 Duplicates Finder. Additional Columns
If you are looking for a specific file, you can narrow down the search results by selecting the file type – Images, Documents, Music/Sound, Video, Archives, or Raw Photos. To preview the files, click Quick Look. To search for specific files, use the filter field.
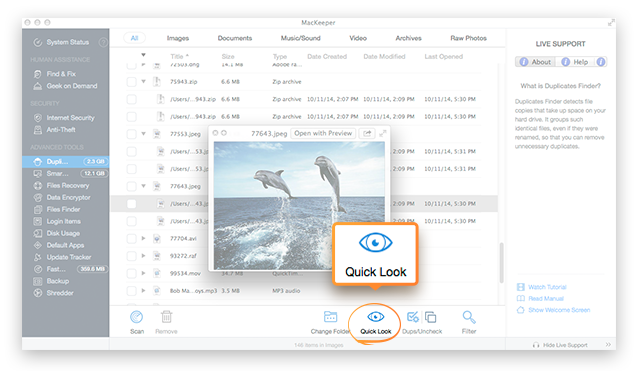 Narrow down the search results by selecting the file type – Images, Documents, Music/Sound, Video, Archives or Raw Photos. To preview the files, click Quick Look. To search for specific files, use the filter field
Expand a file to see its duplicates and the paths where these duplicates are located. Duplicates Finder detects even those files that were renamed, because it compares the contents of the files instead of just names and sizes.
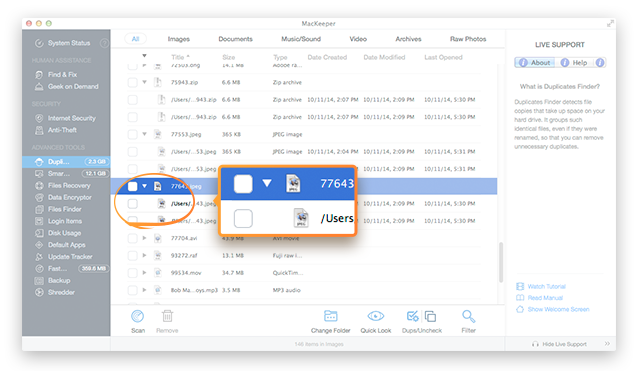 Expand a file to see its duplicates and the paths where these duplicates are located
Important
If you click the Dups button, the system automatically leaves only the copy that has been recently updated and selects other copies for removal.
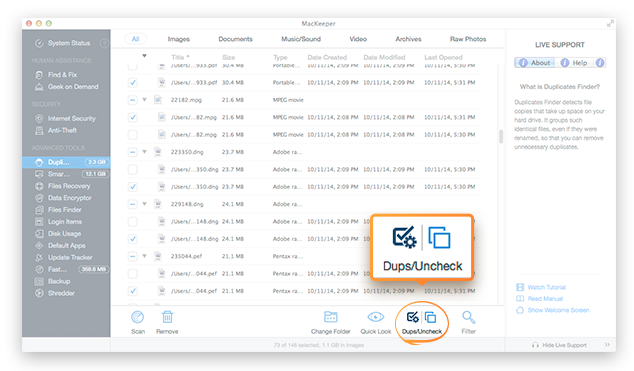 Duplicates Finder. Dups Button
However, you should be extremely careful when you use this button. Never use this button to remove duplicates of music or photos! Only a human can define which of the files is original, so you should manually select the original. To be even more safe, go to Preferences and add to the ignore list your folders from iTunes, iPhoto and all other important stuff.
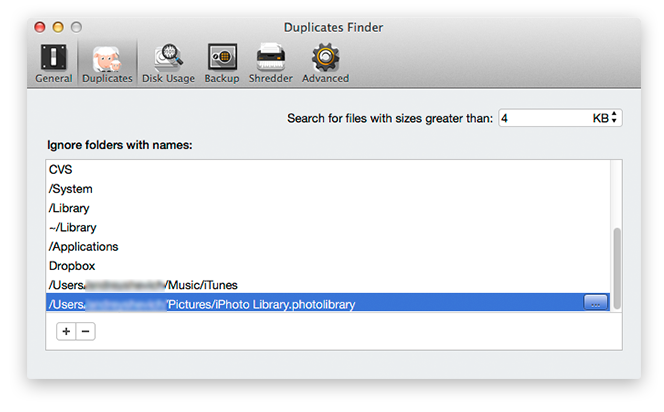 Duplicates Finder. Preferences Window
When the copies are selected, click Remove, and all of them will be moved to the Trash. To repeat the scan, click Scan. To search for duplicates in another folder, click Change Folder.
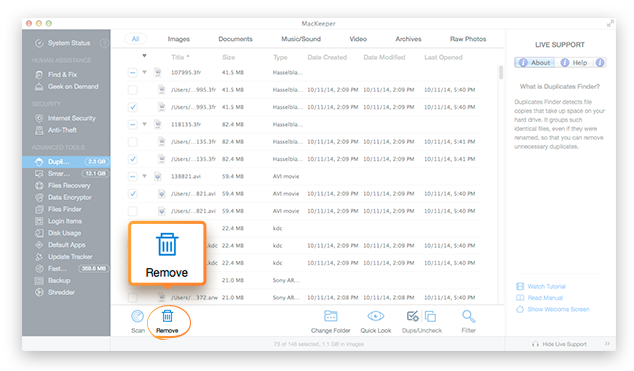 When the copies are selected, click Remove, and all of them will be moved to the Trash
Please note that the Start the scan immediately checkbox is selected by default in the Open dialog. It means that the scan will start automatically after you change the folder.
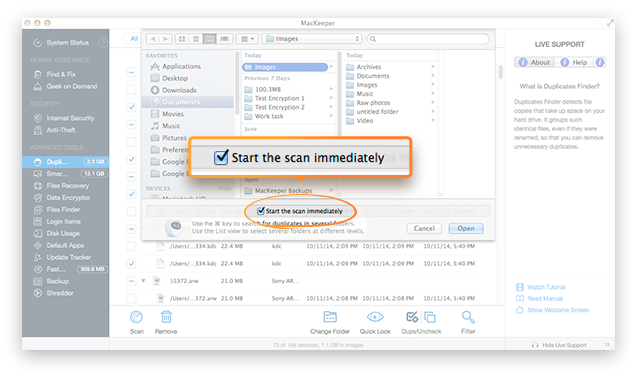 The Start the scan immediately checkbox
You can also search for duplicates of specific files and bundles on all available drives. You can either select files and bundles in the Open dialog or just drag them to the work area of Duplicates Finder.
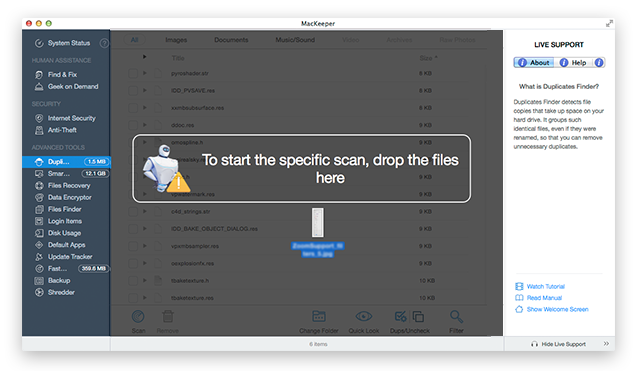 Work area for specific files and bundles in Duplicates Finder
Drag-and-Drop Support: Use the drag-and-drop functionality to quickly search for all duplicates.
Preferences of Duplicates Finder
There are two ways to open the Preferences window for Duplicates Finder:
-
On the navigation pane, click Duplicates Finder, and then click MacKeeper, Preferences.
-
Click MacKeeper, Preferences, and then click the Duplicates Finder tab.
Here you can limit the minimum size of the found duplicates and add filename extensions that will be ignored (for example, iTunes or iPhoto libraries) by using the plus sign (+) button. For details about the ignore list, refer to the Removing File Copies with Duplicates Finder section.
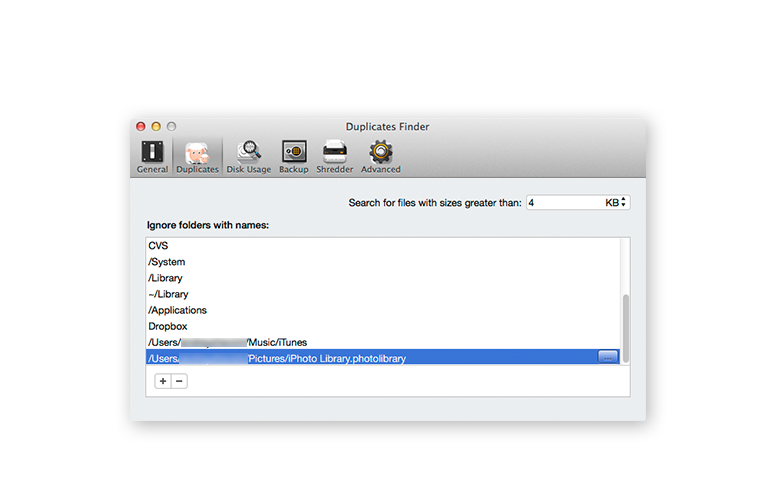 Duplicates Finder. Preferences Window